Archive | Doughnuts RSS feed for this section

Mini Hot Jam Doughnuts

4 May


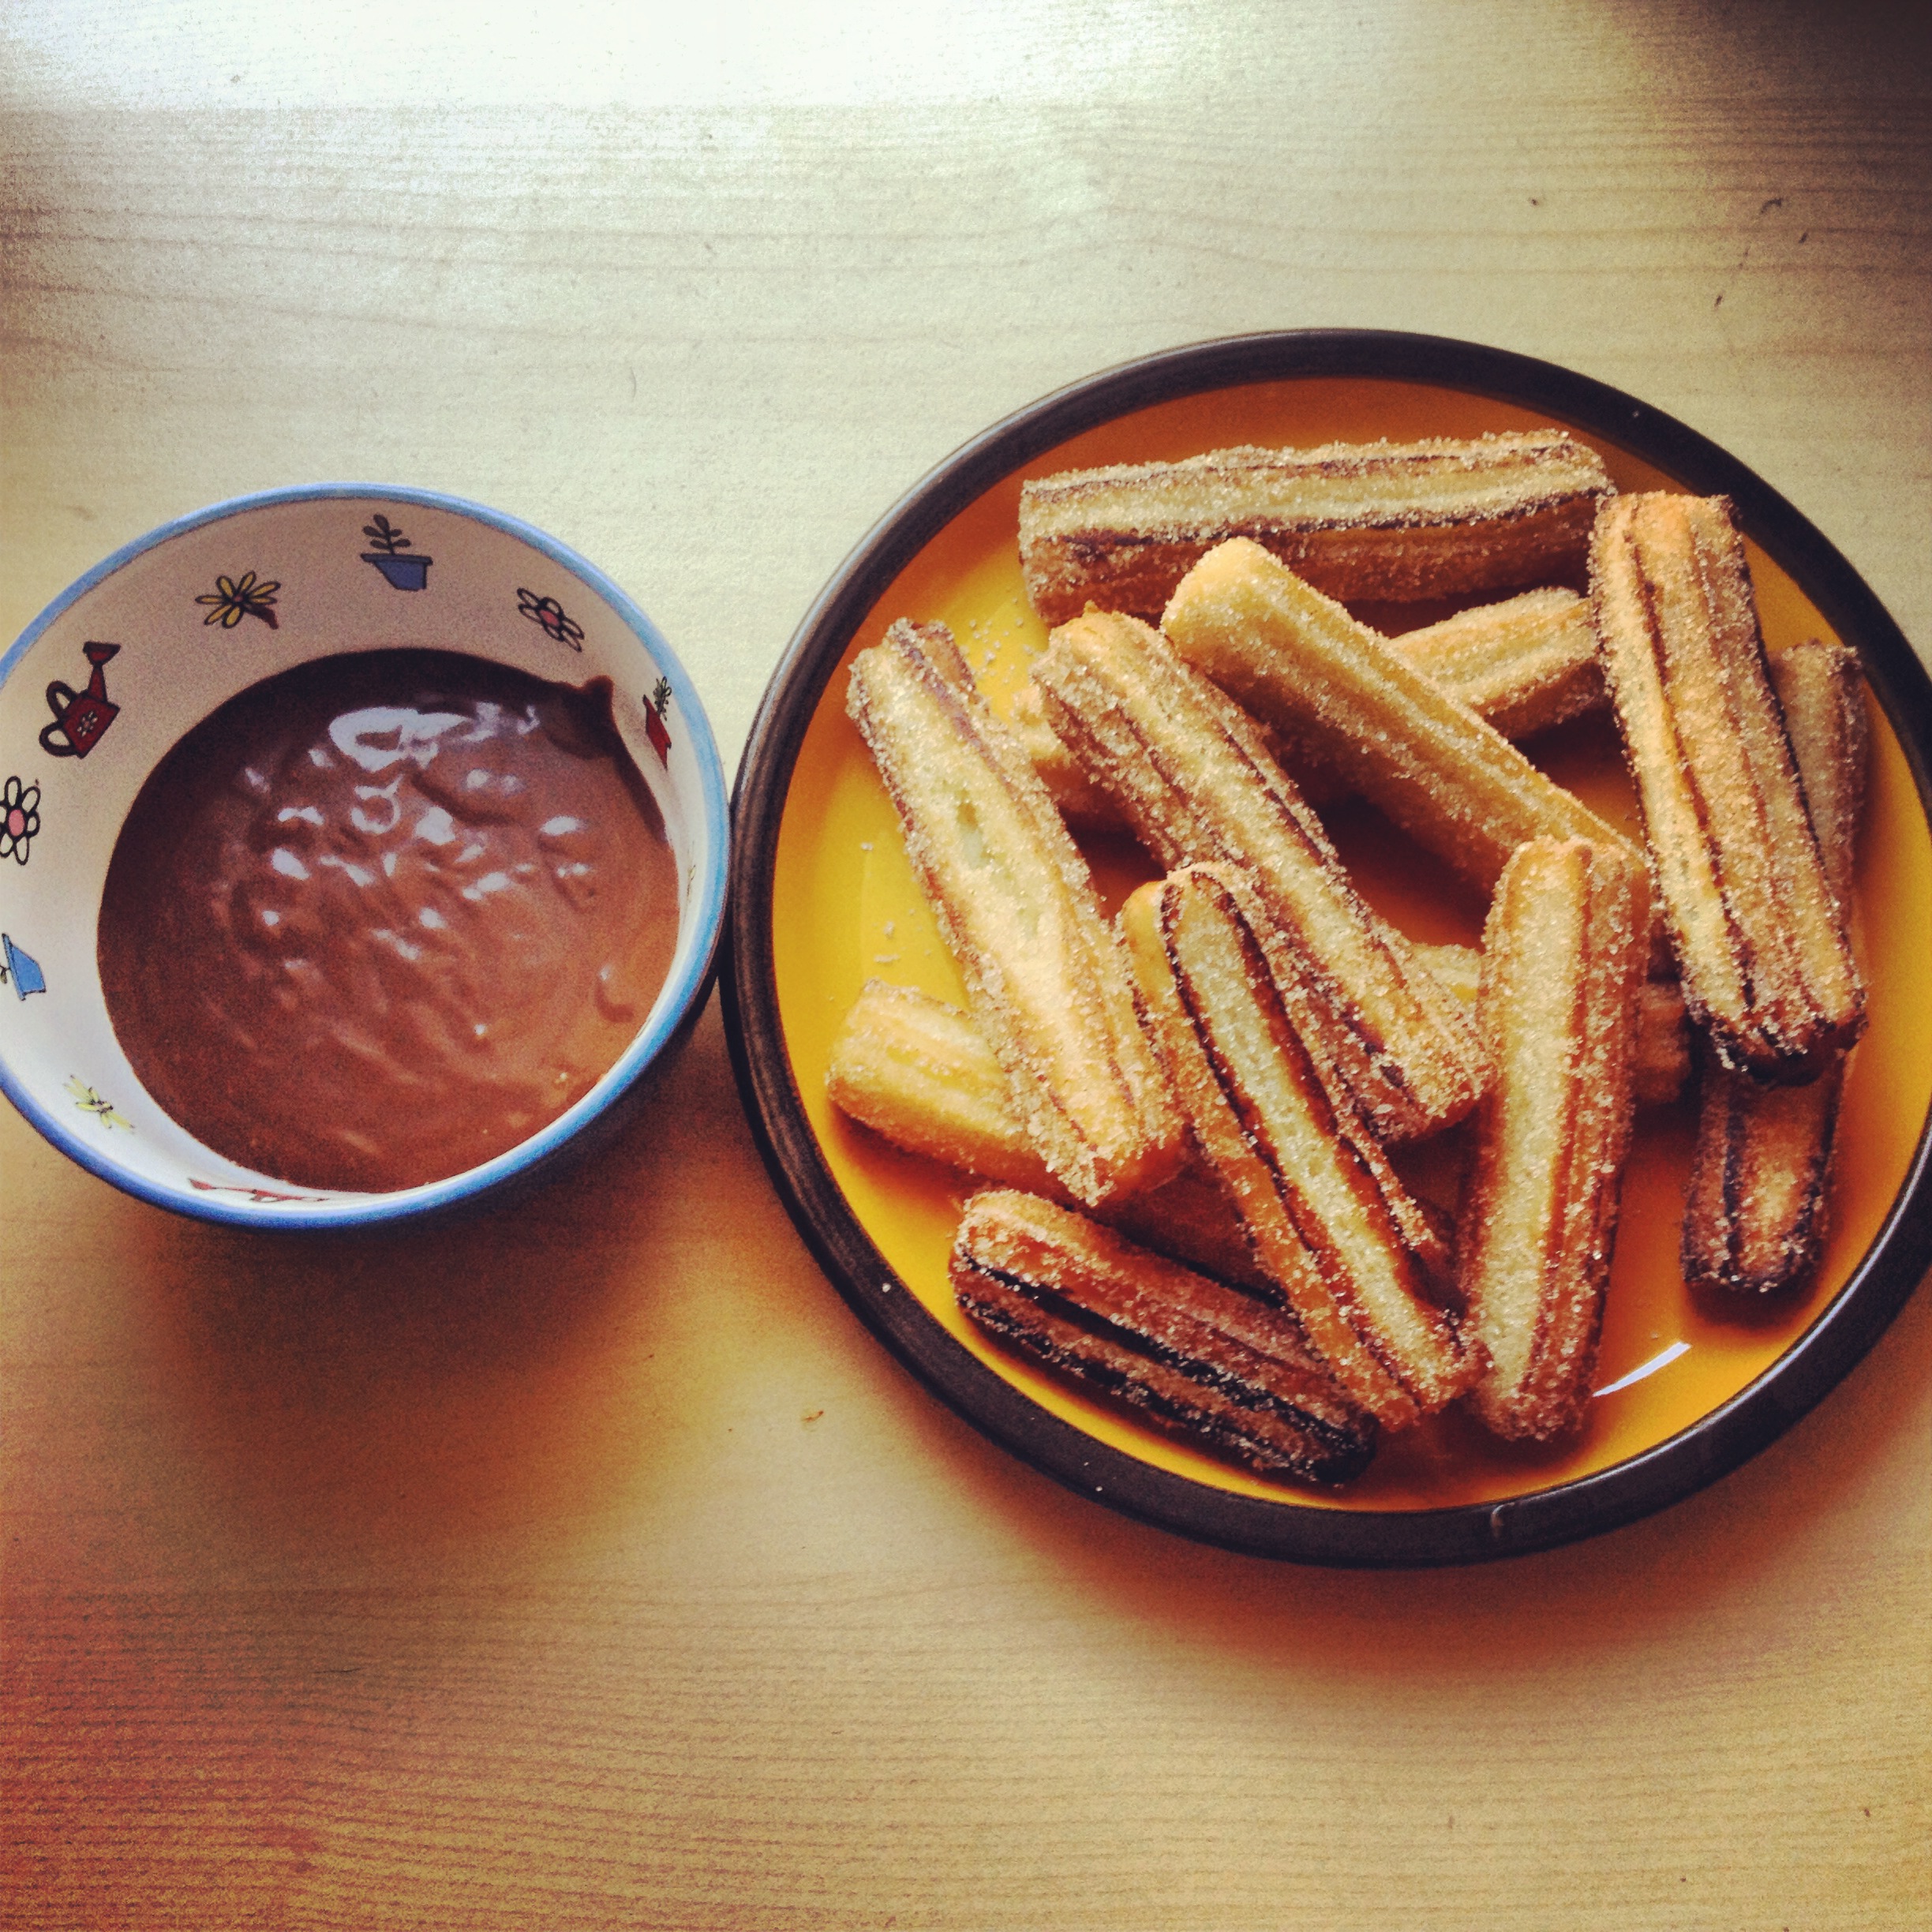
Whilst browsing the weekly good food email in my inbox a while back, the image of these fabulous little doughnuts caught my eye. 

I had attempted to make yeast doughnuts before in the hope of replicating the wonderful jam filled pockets from the American Doughnut Van at the Queen Victoria Market, but alas, my initial attempts left me disappointed with the tough chewy product that I had spent half day making. 

So I was a bit skeptical when I first saw this recipe, but as I kept reading, it sounded all so simple compared to my first attempt! 

So I gave it a go. The result? 

It’s now one of my all time “go to” recipes as it really is quite simple to make!! 

Just make sure you allow yourself time for the dough to rise and then again once you roll them into balls. 


Mini Hot Jam Doughnuts 

Recipe by Caroline Veik

Makes 24

Ingredients

125ml milk

15g unsalted butter

250g strong flour

1½ tsp instant yeast

¼ tsp salt

25g caster sugar

1 egg

2lt rice bran oil for deep-frying

Granulated sugar for rolling the doughnuts

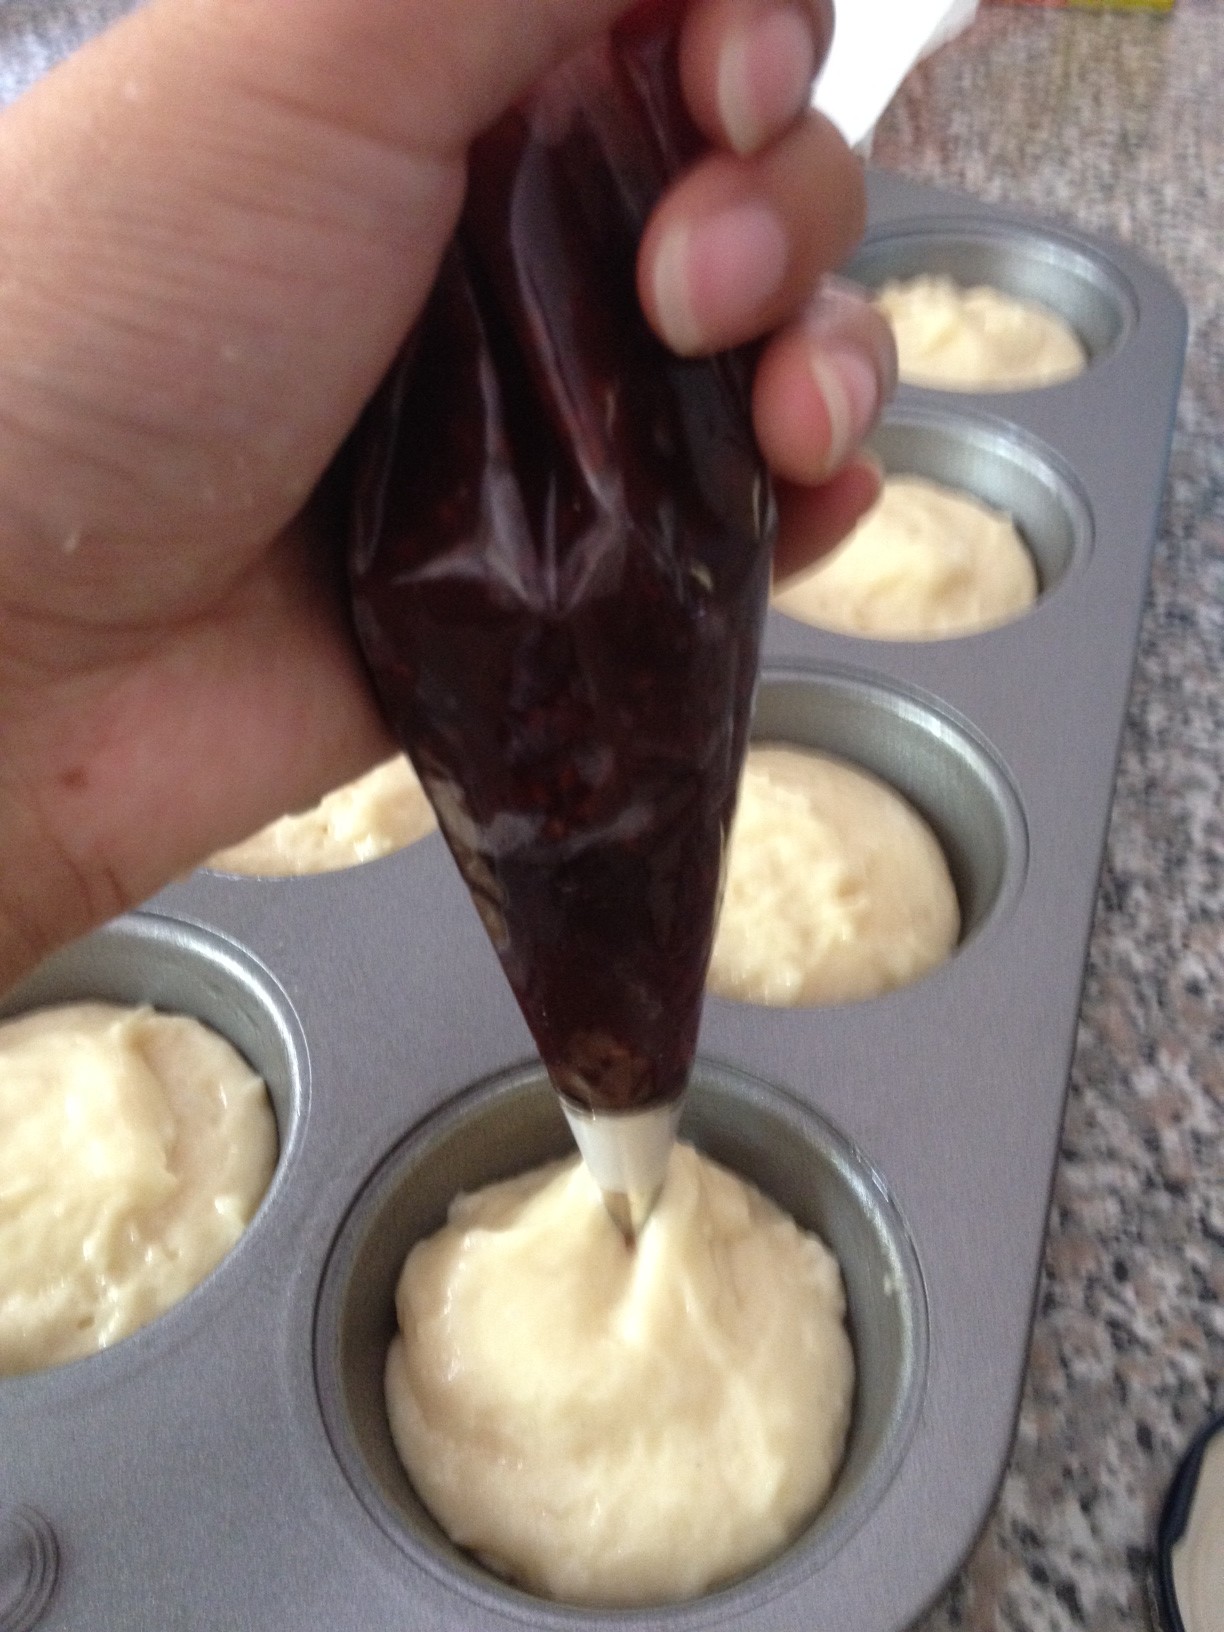
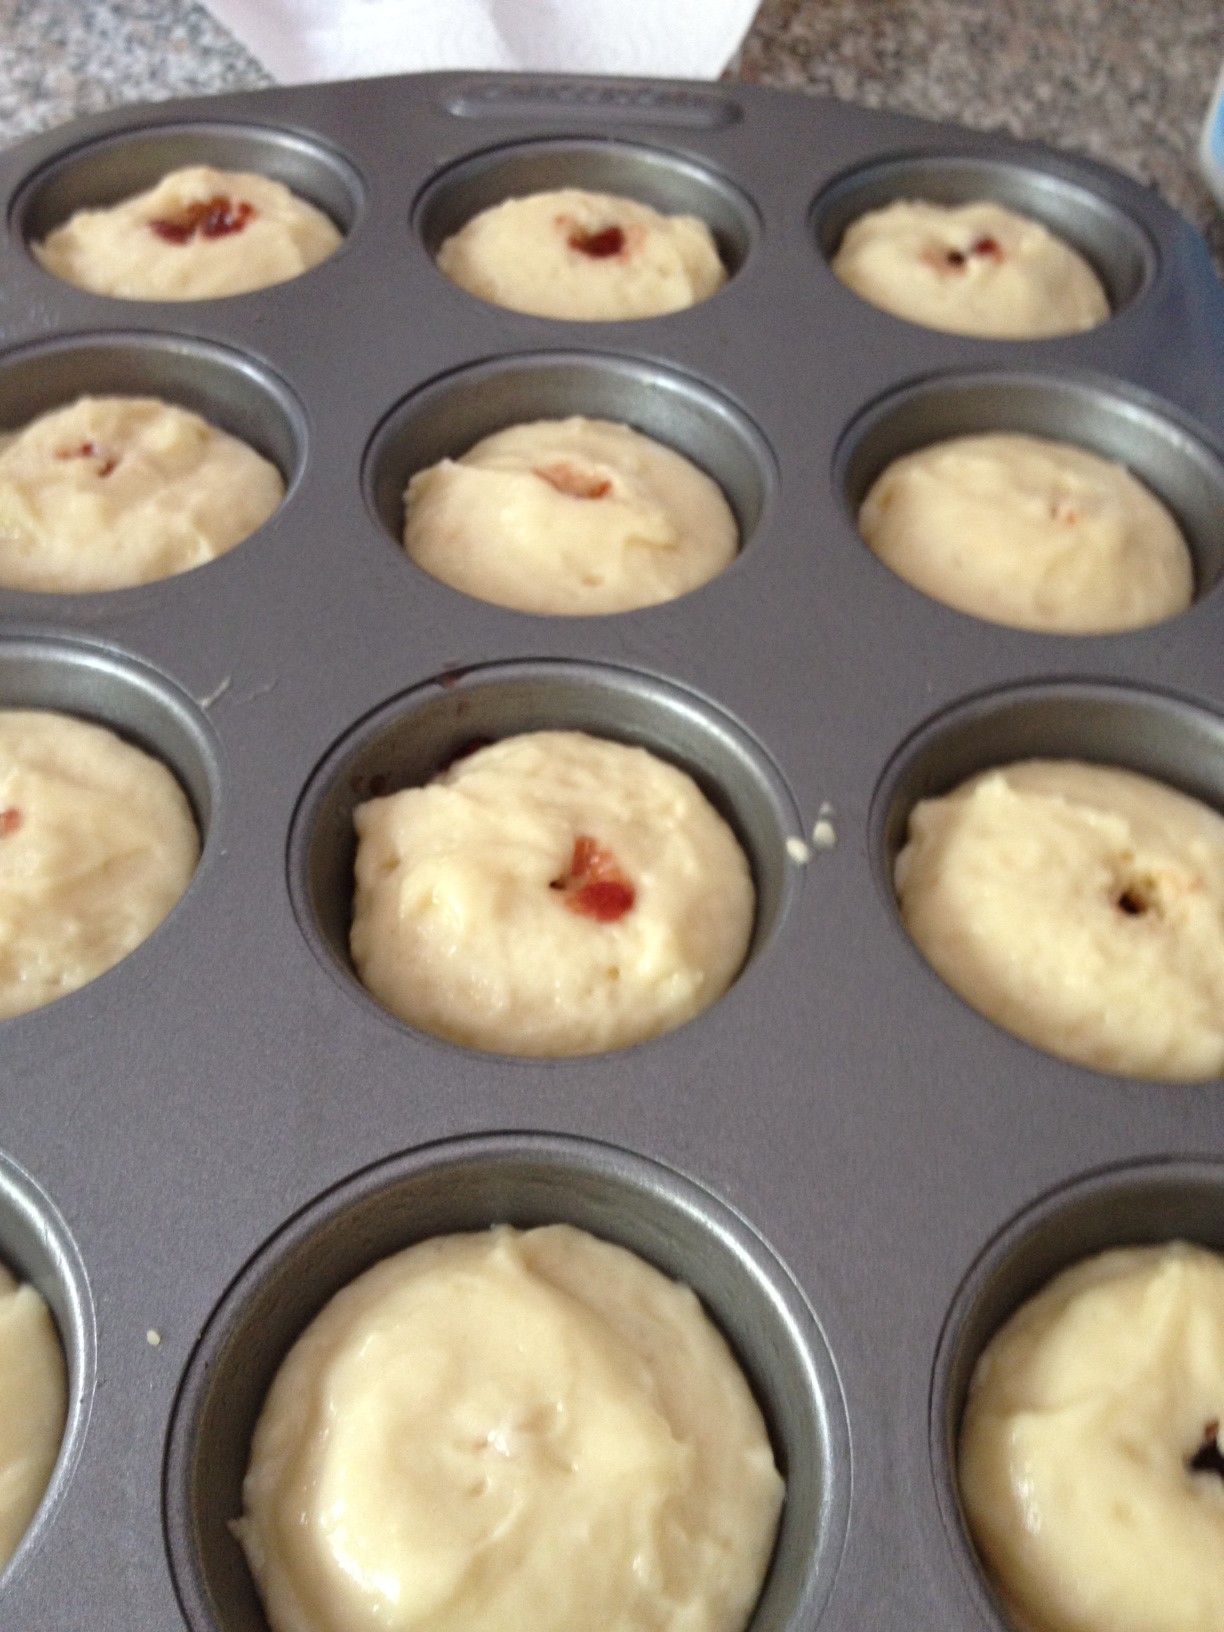
1/2 cup raspberry jam

Method

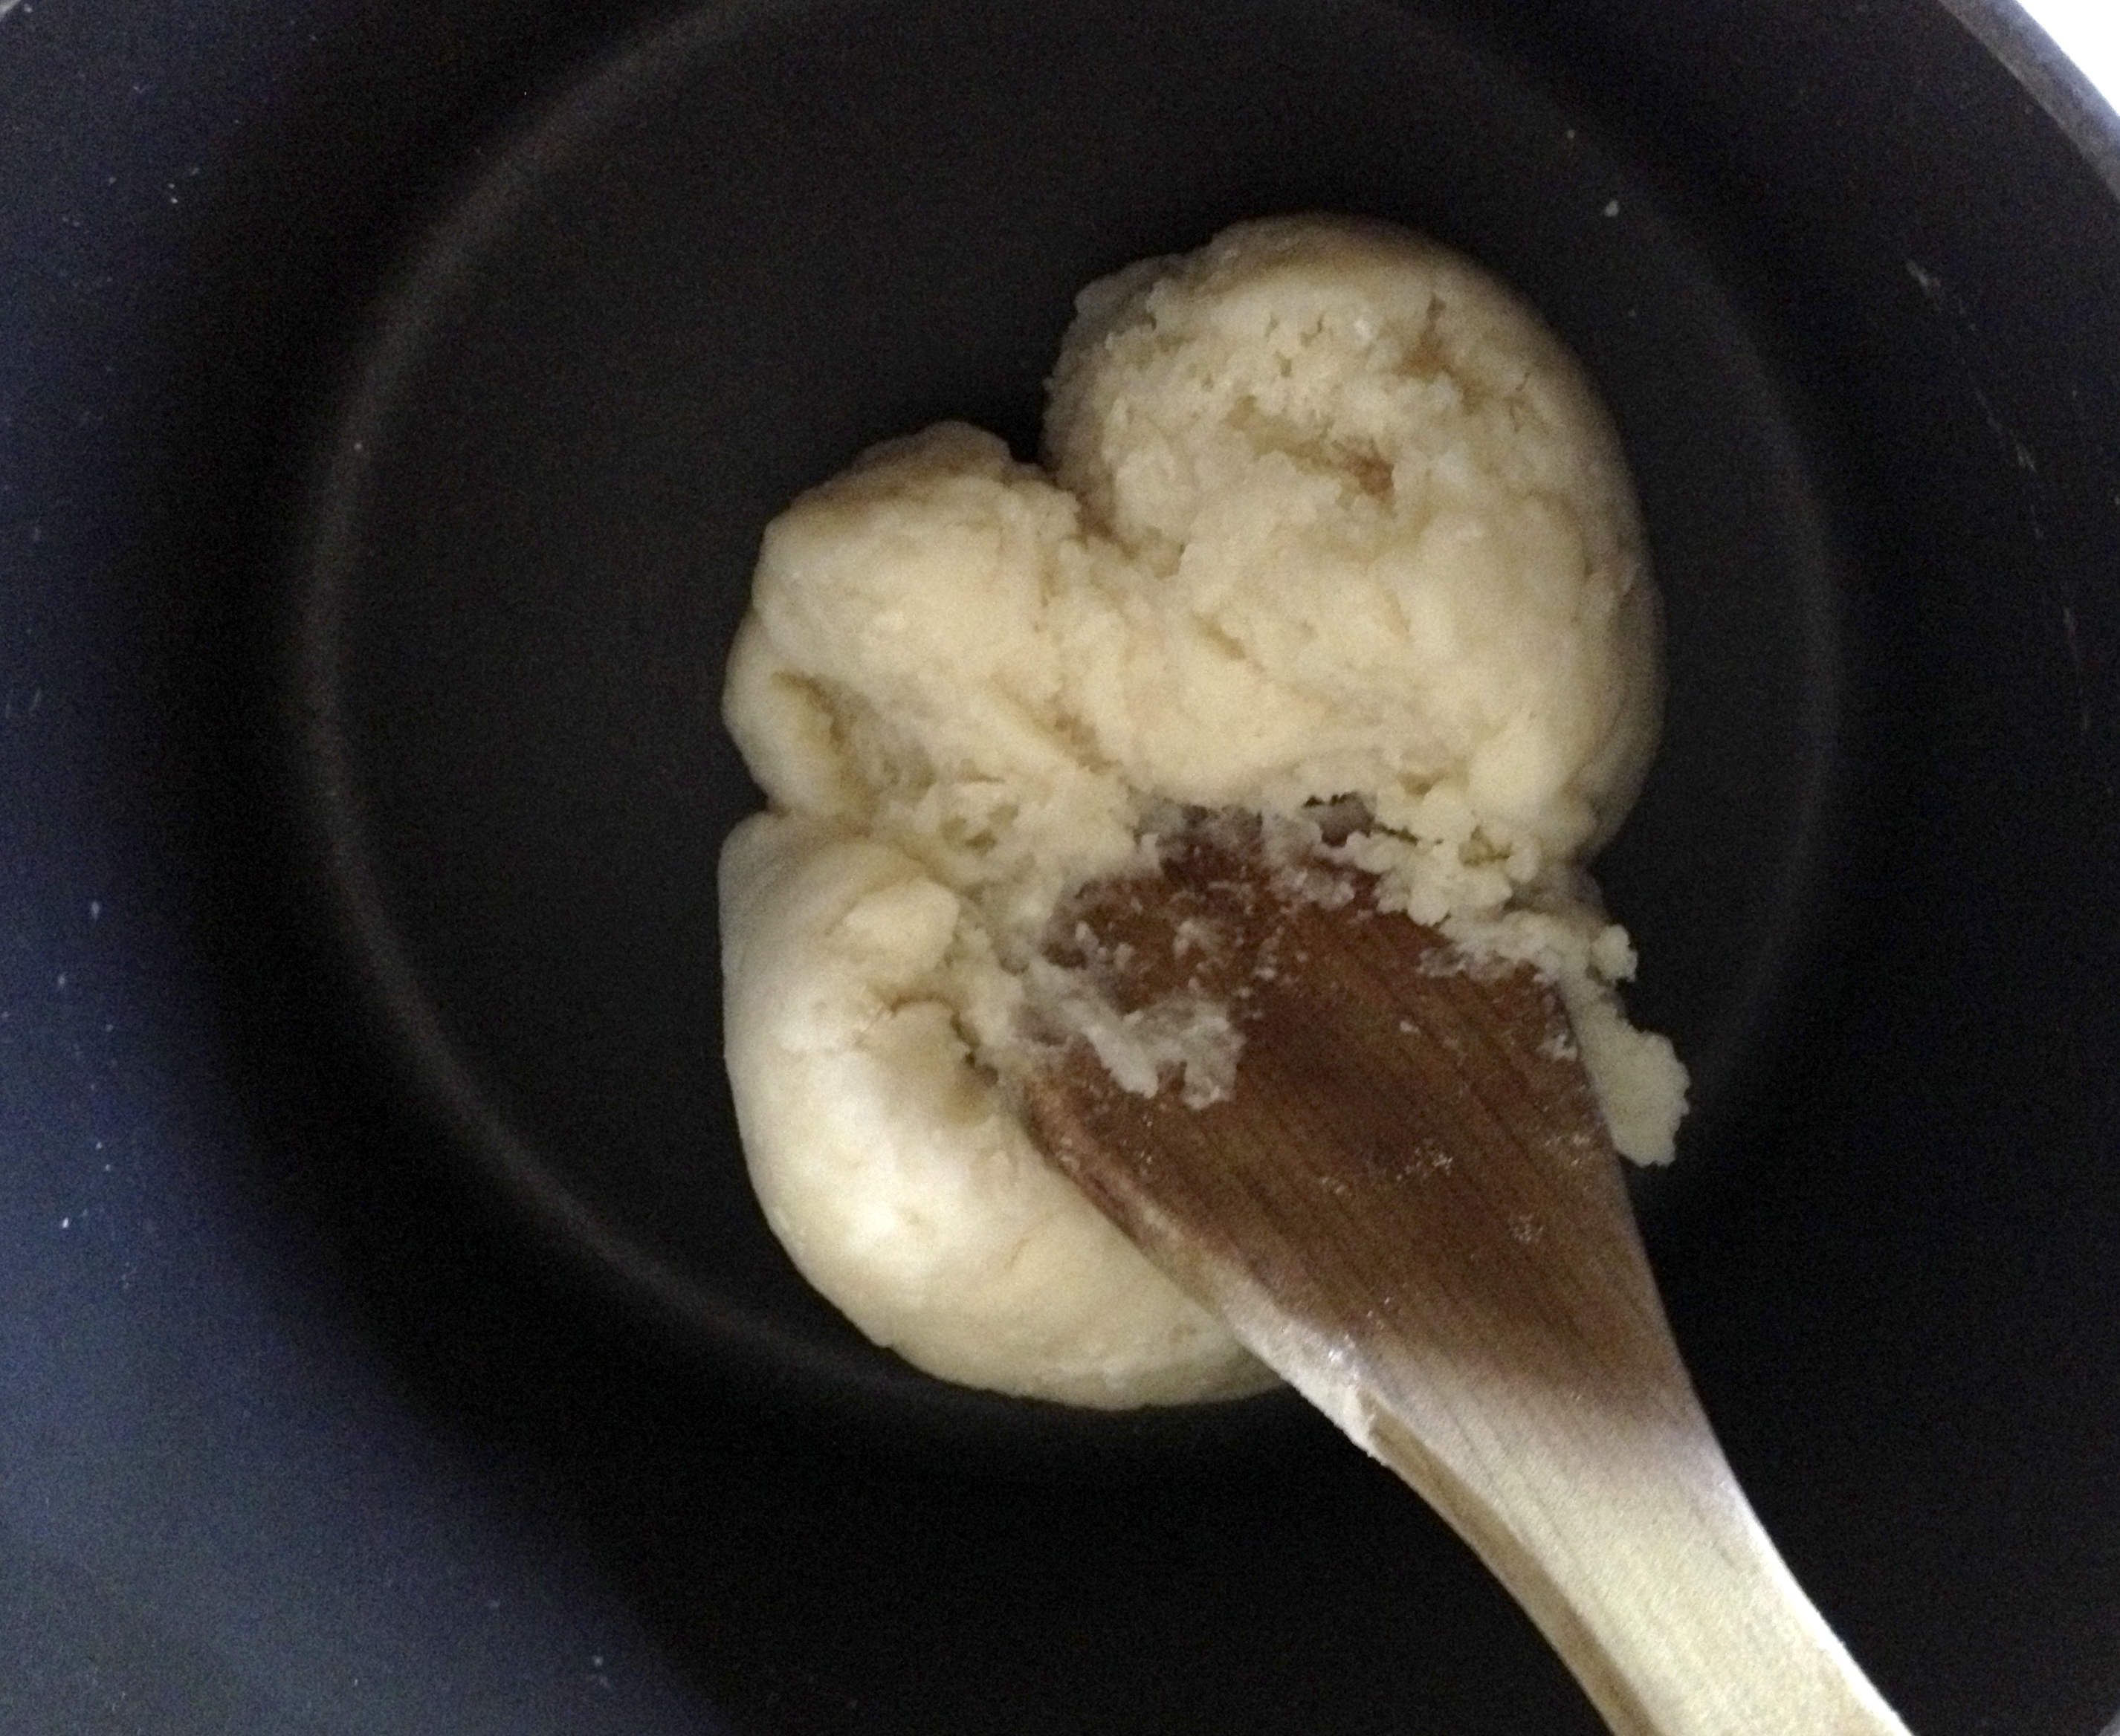
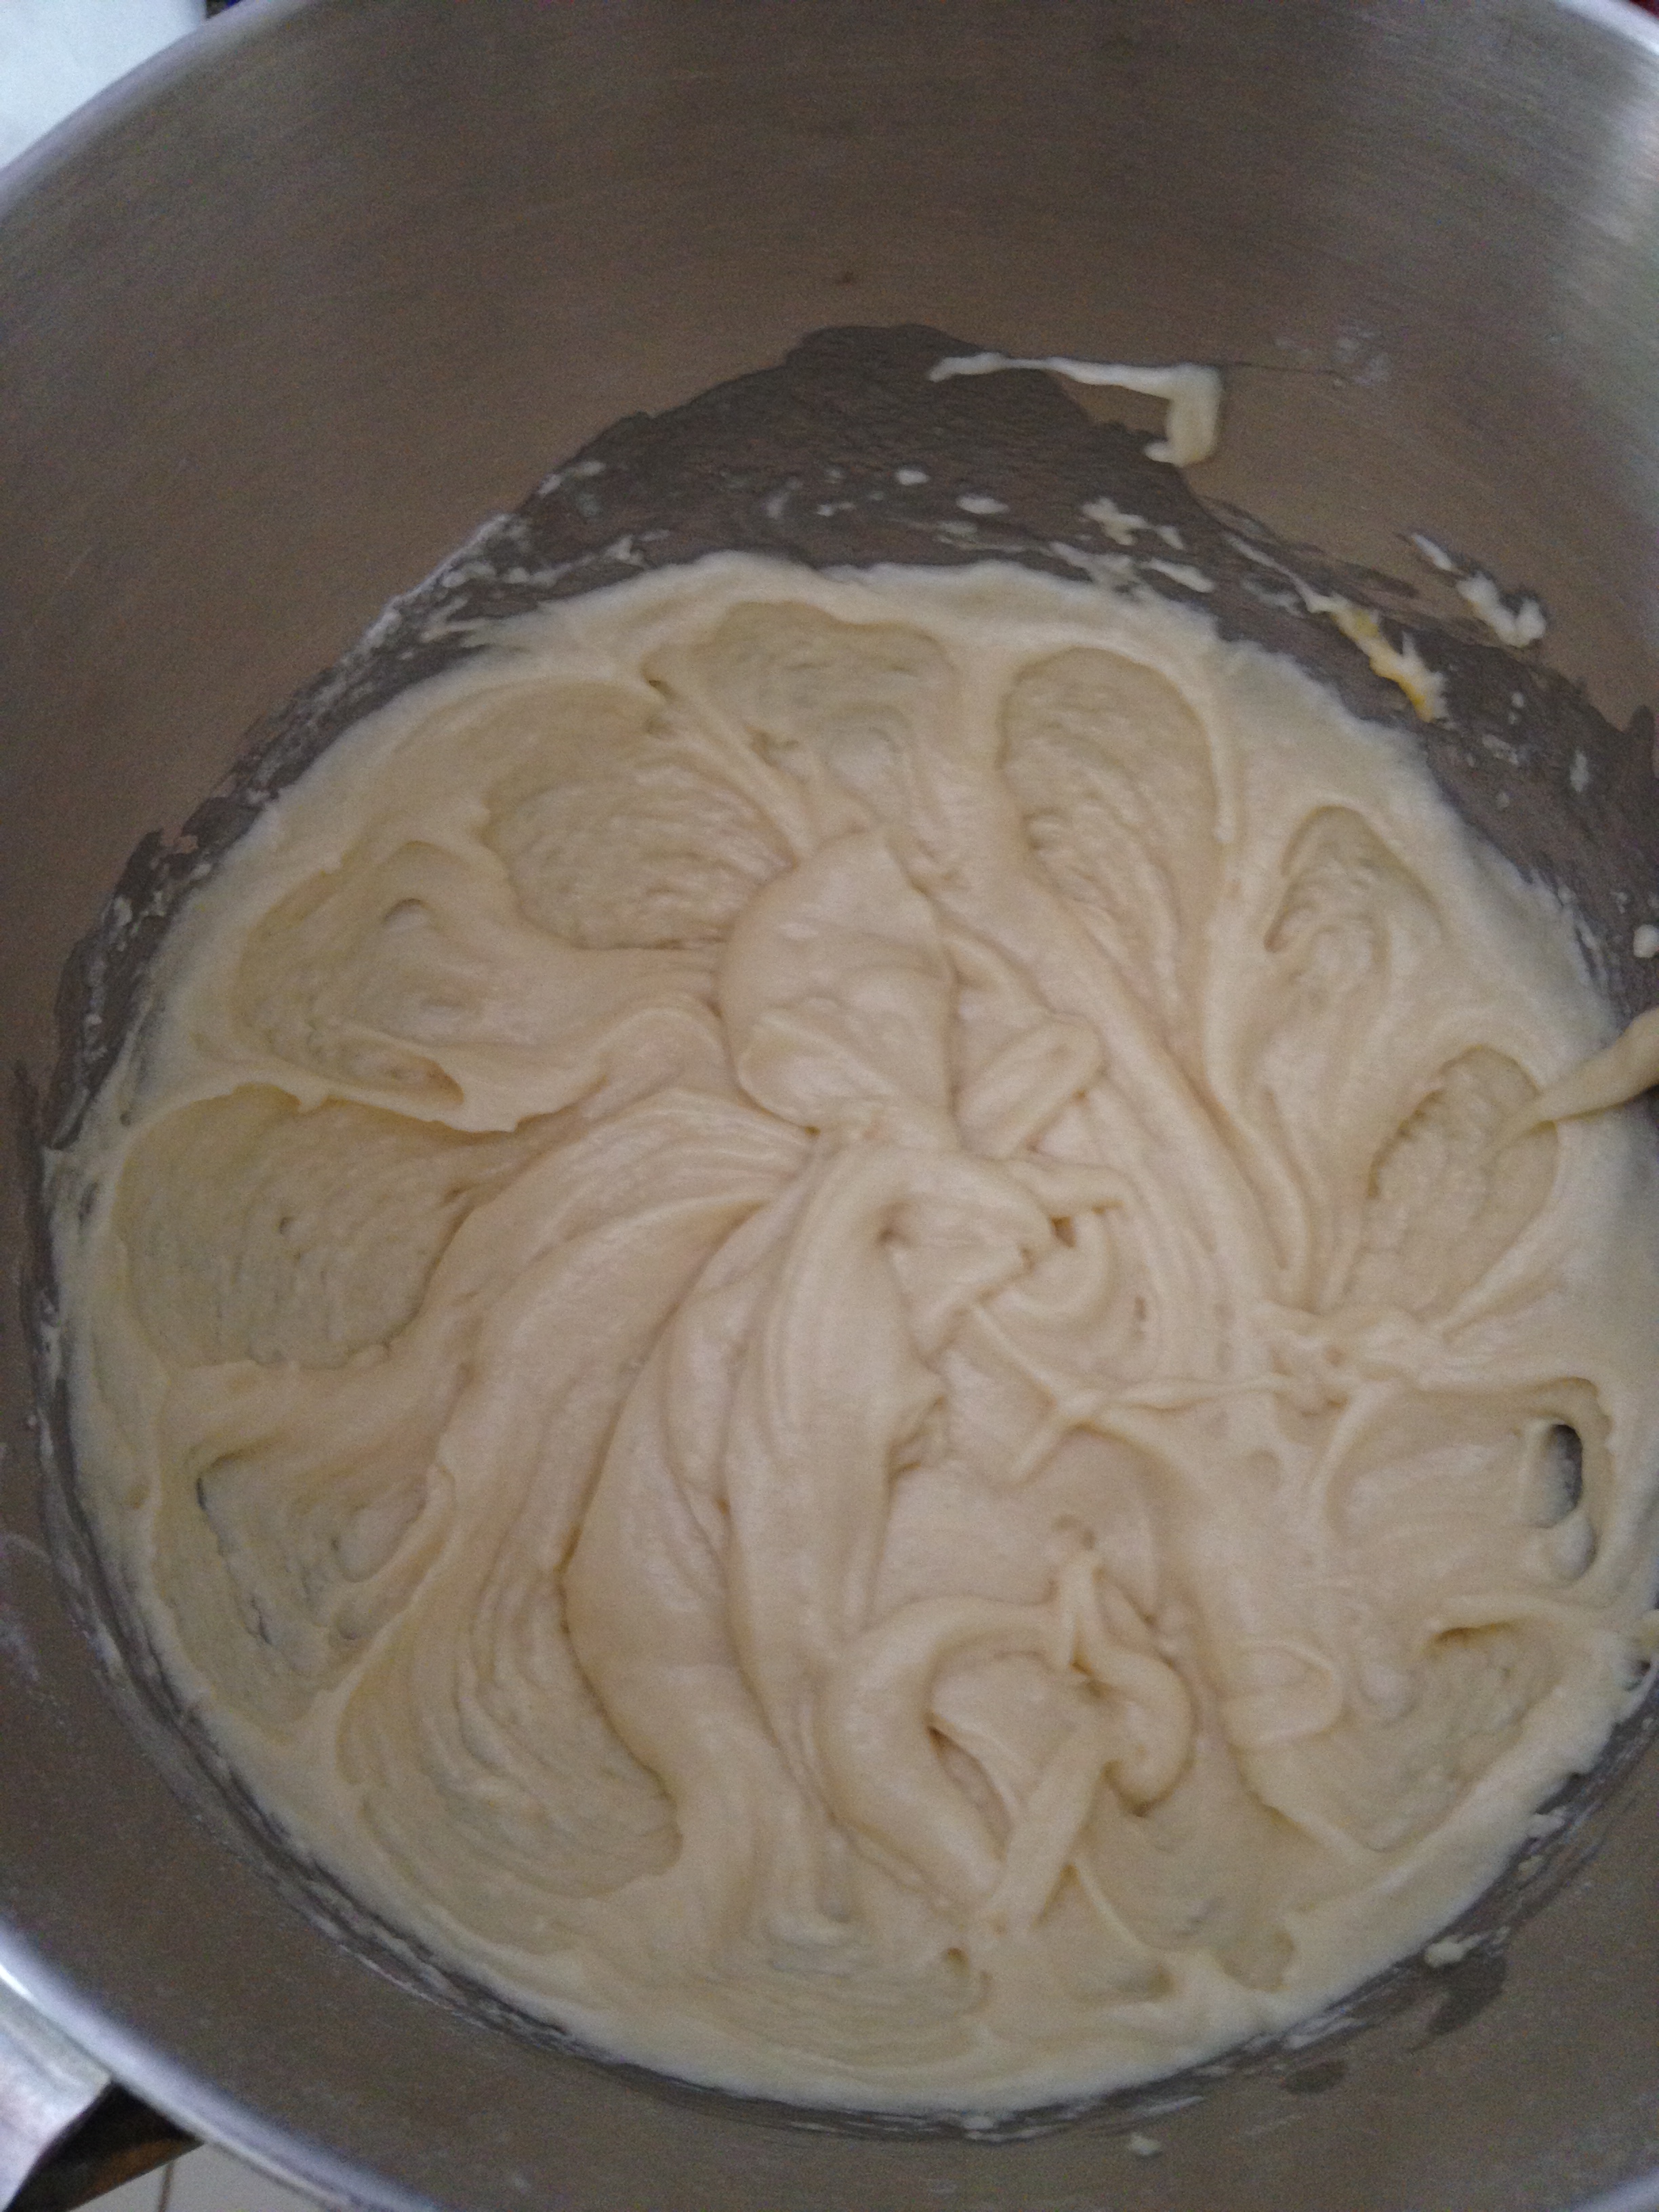
Warm milk and butter together in a saucepan, then take it off the heat when the butter is melting. Put flour, yeast, salt and sugar in a bowl. Beat egg into warmed milk and pour into bowl of dry ingredients.

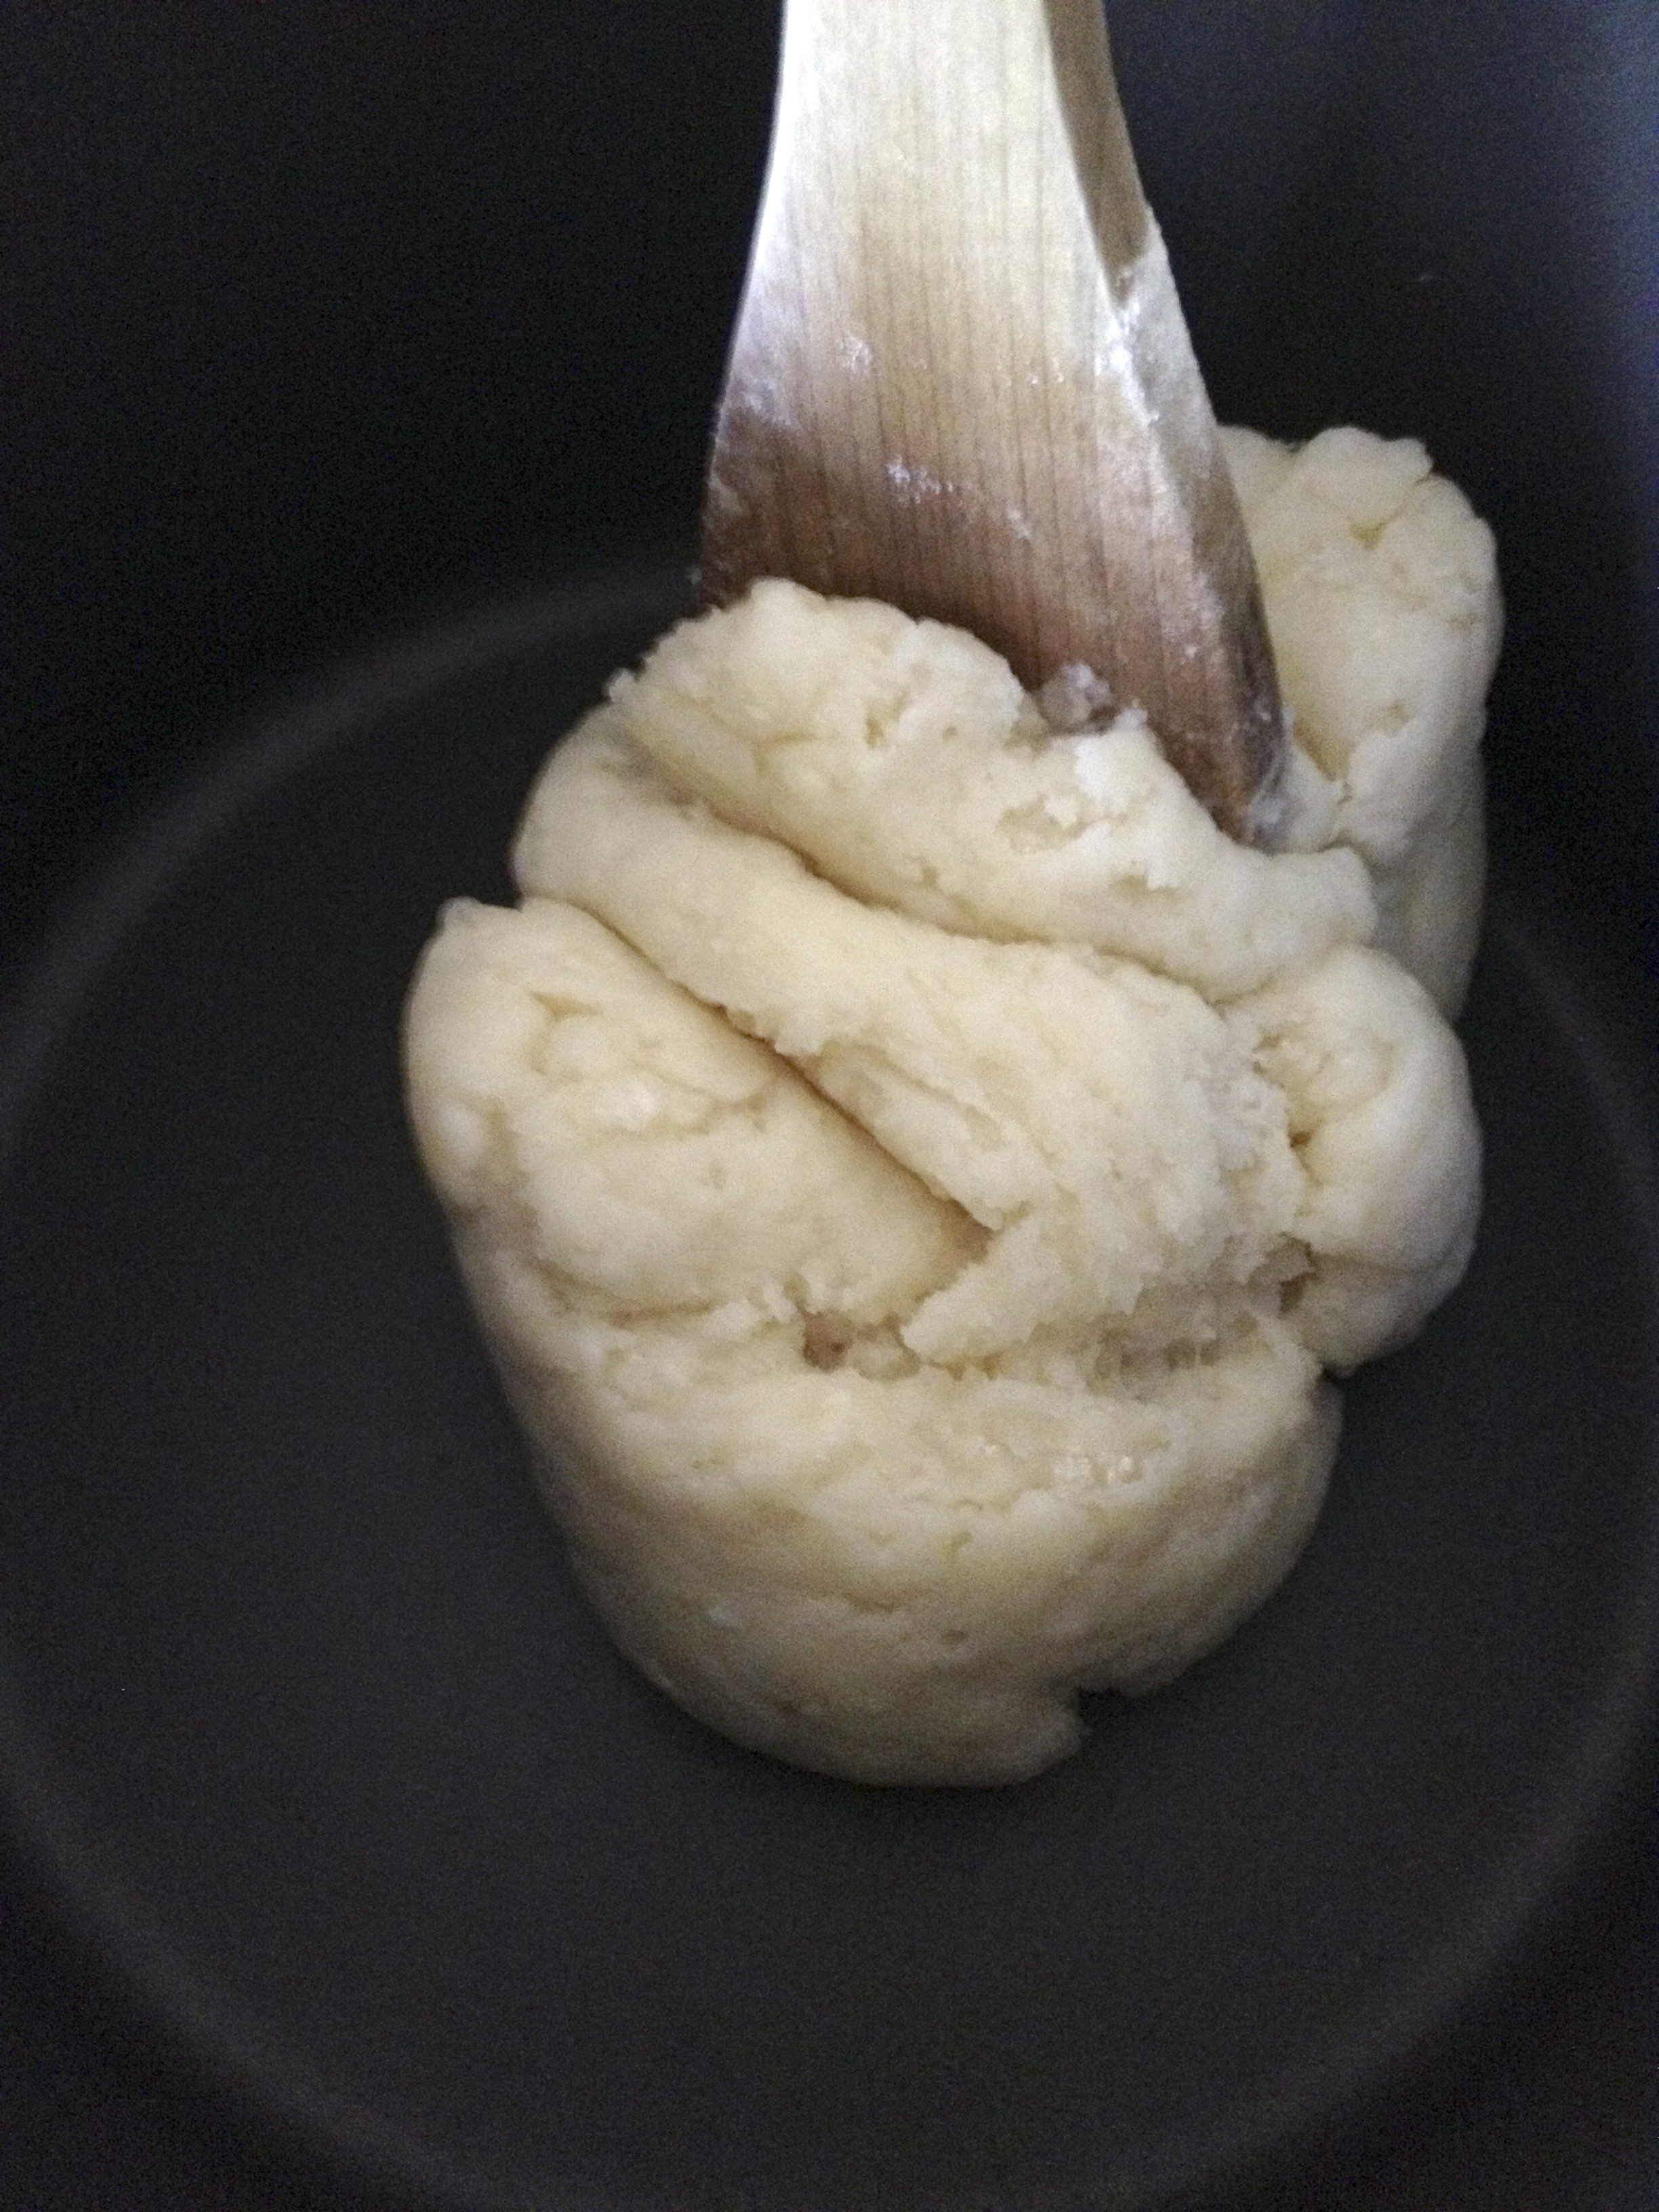
Using a dough hook or your hands, knead the dough until it is smooth and silky – about 10 minutes by hand.

Place in a greased bowl, cover with clingfilm and allow to rise in a warm place until doubled in size, between one to two hours.

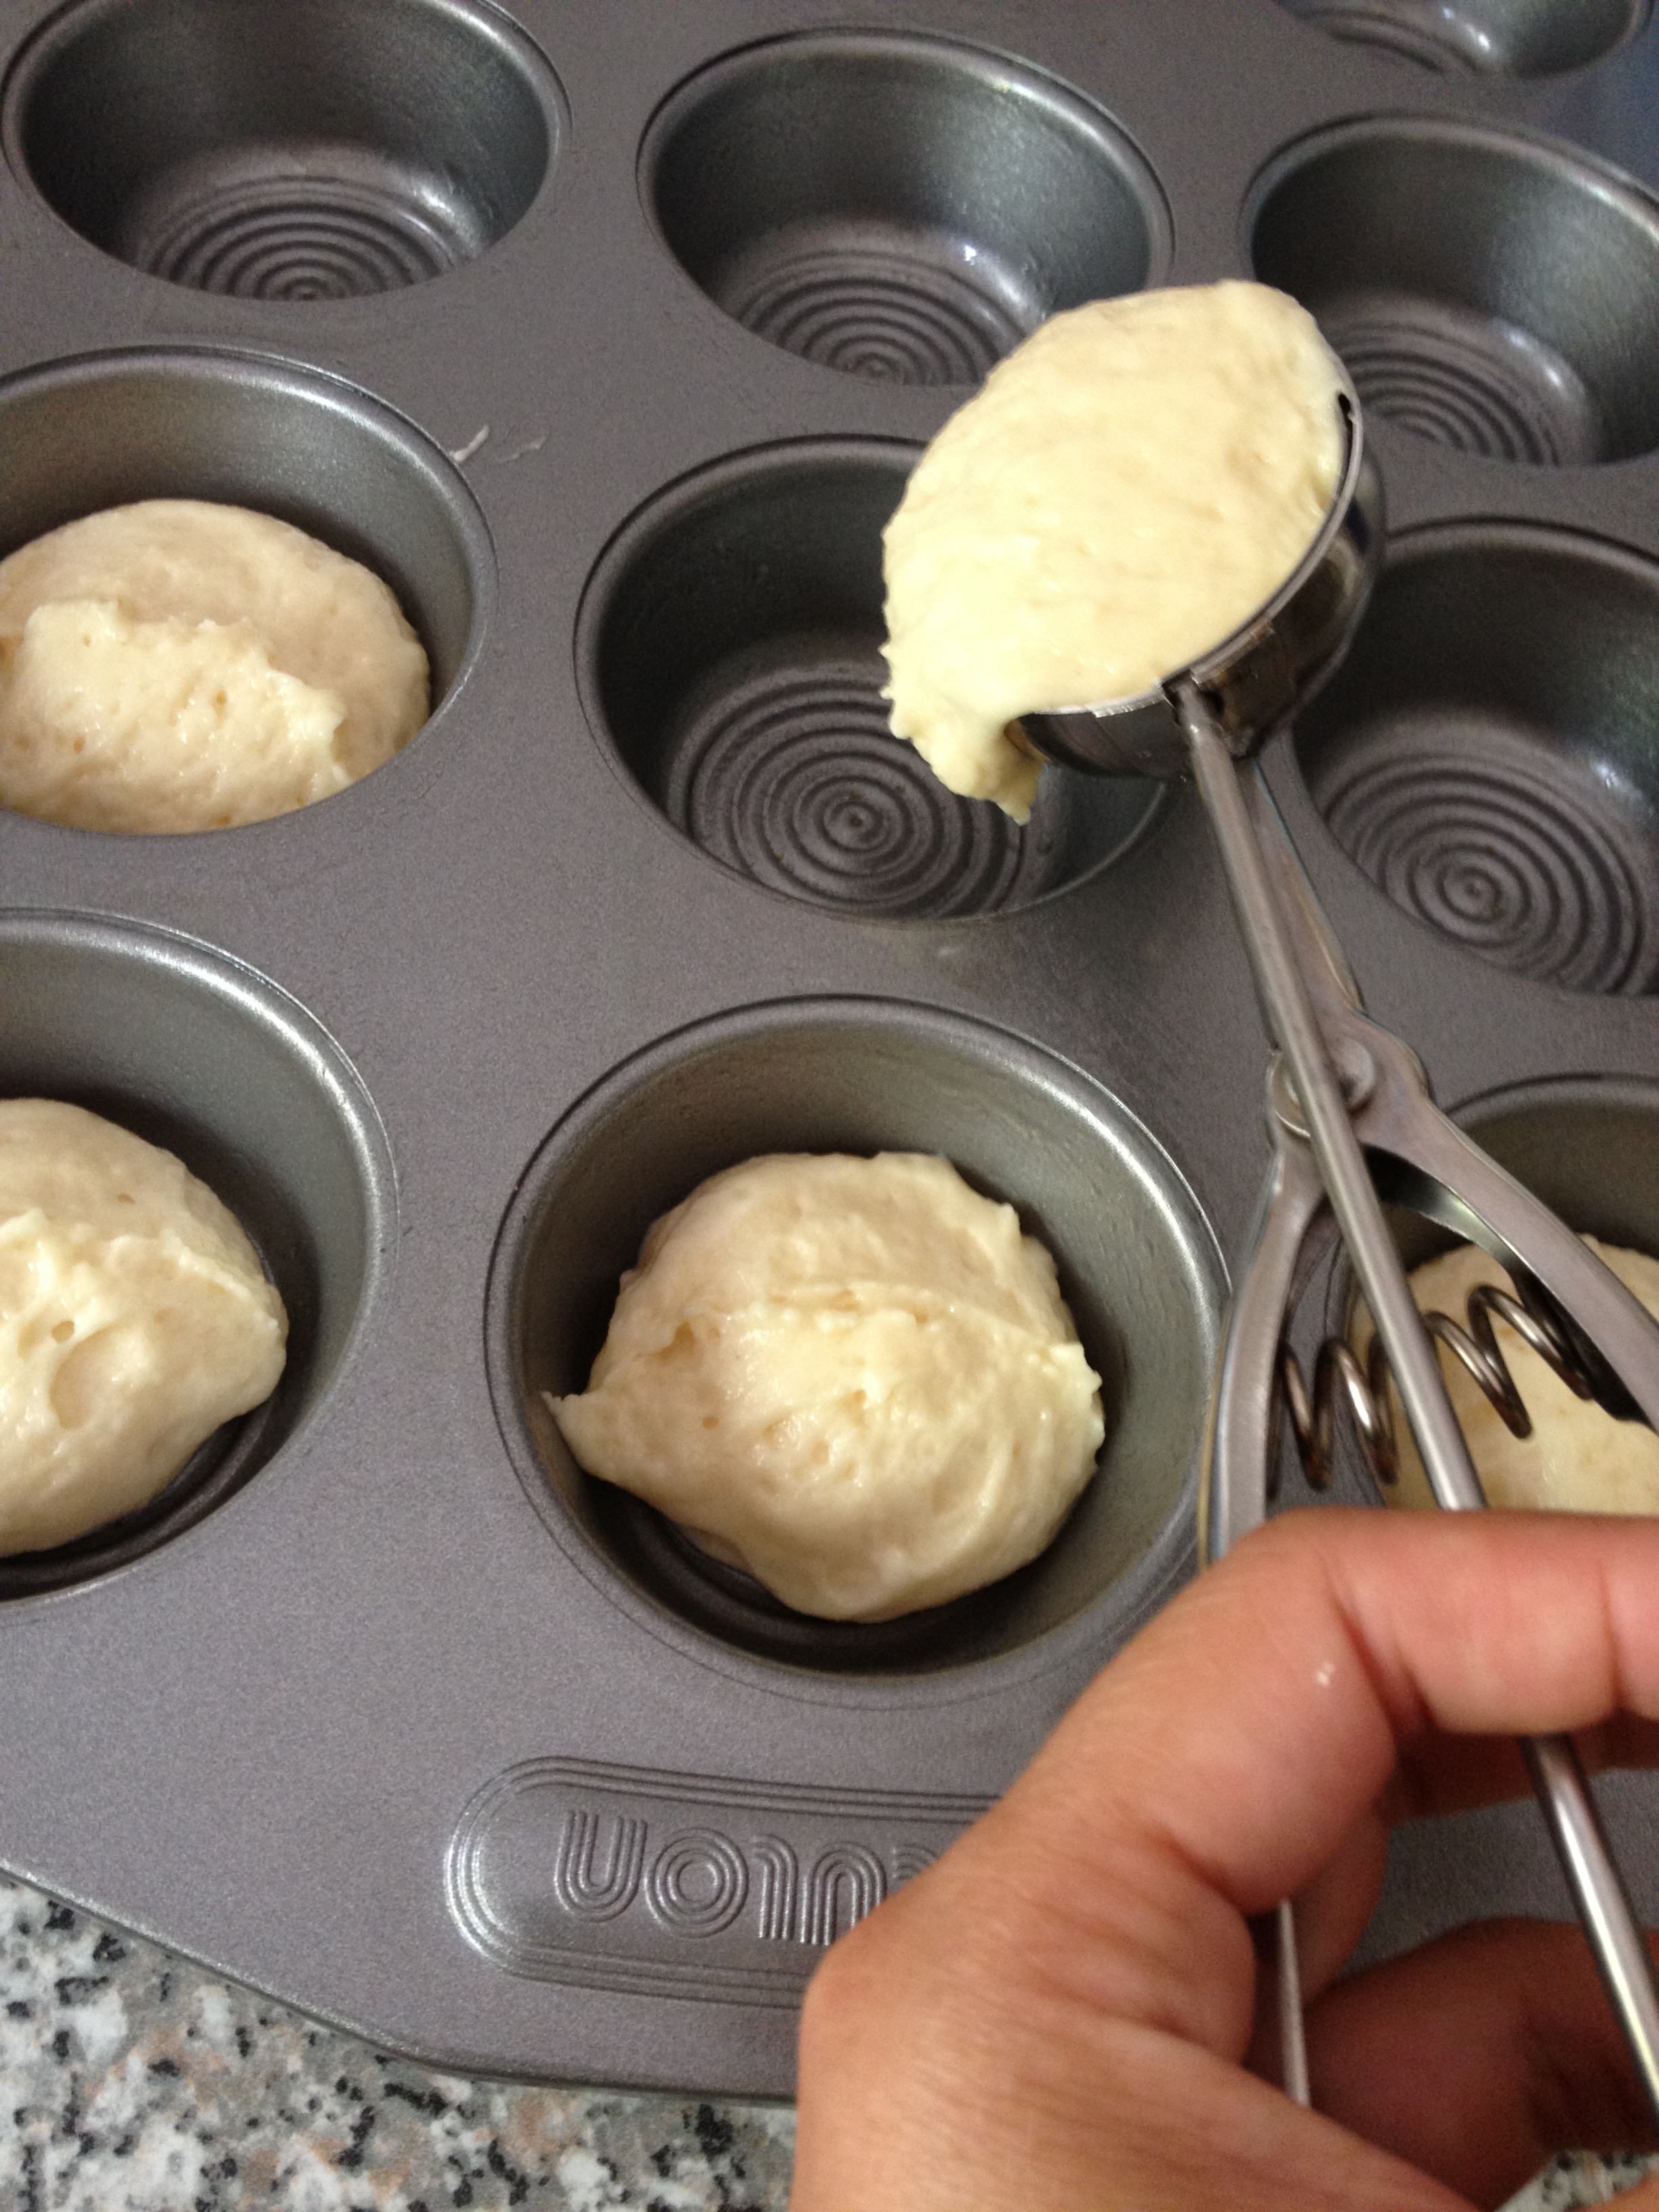
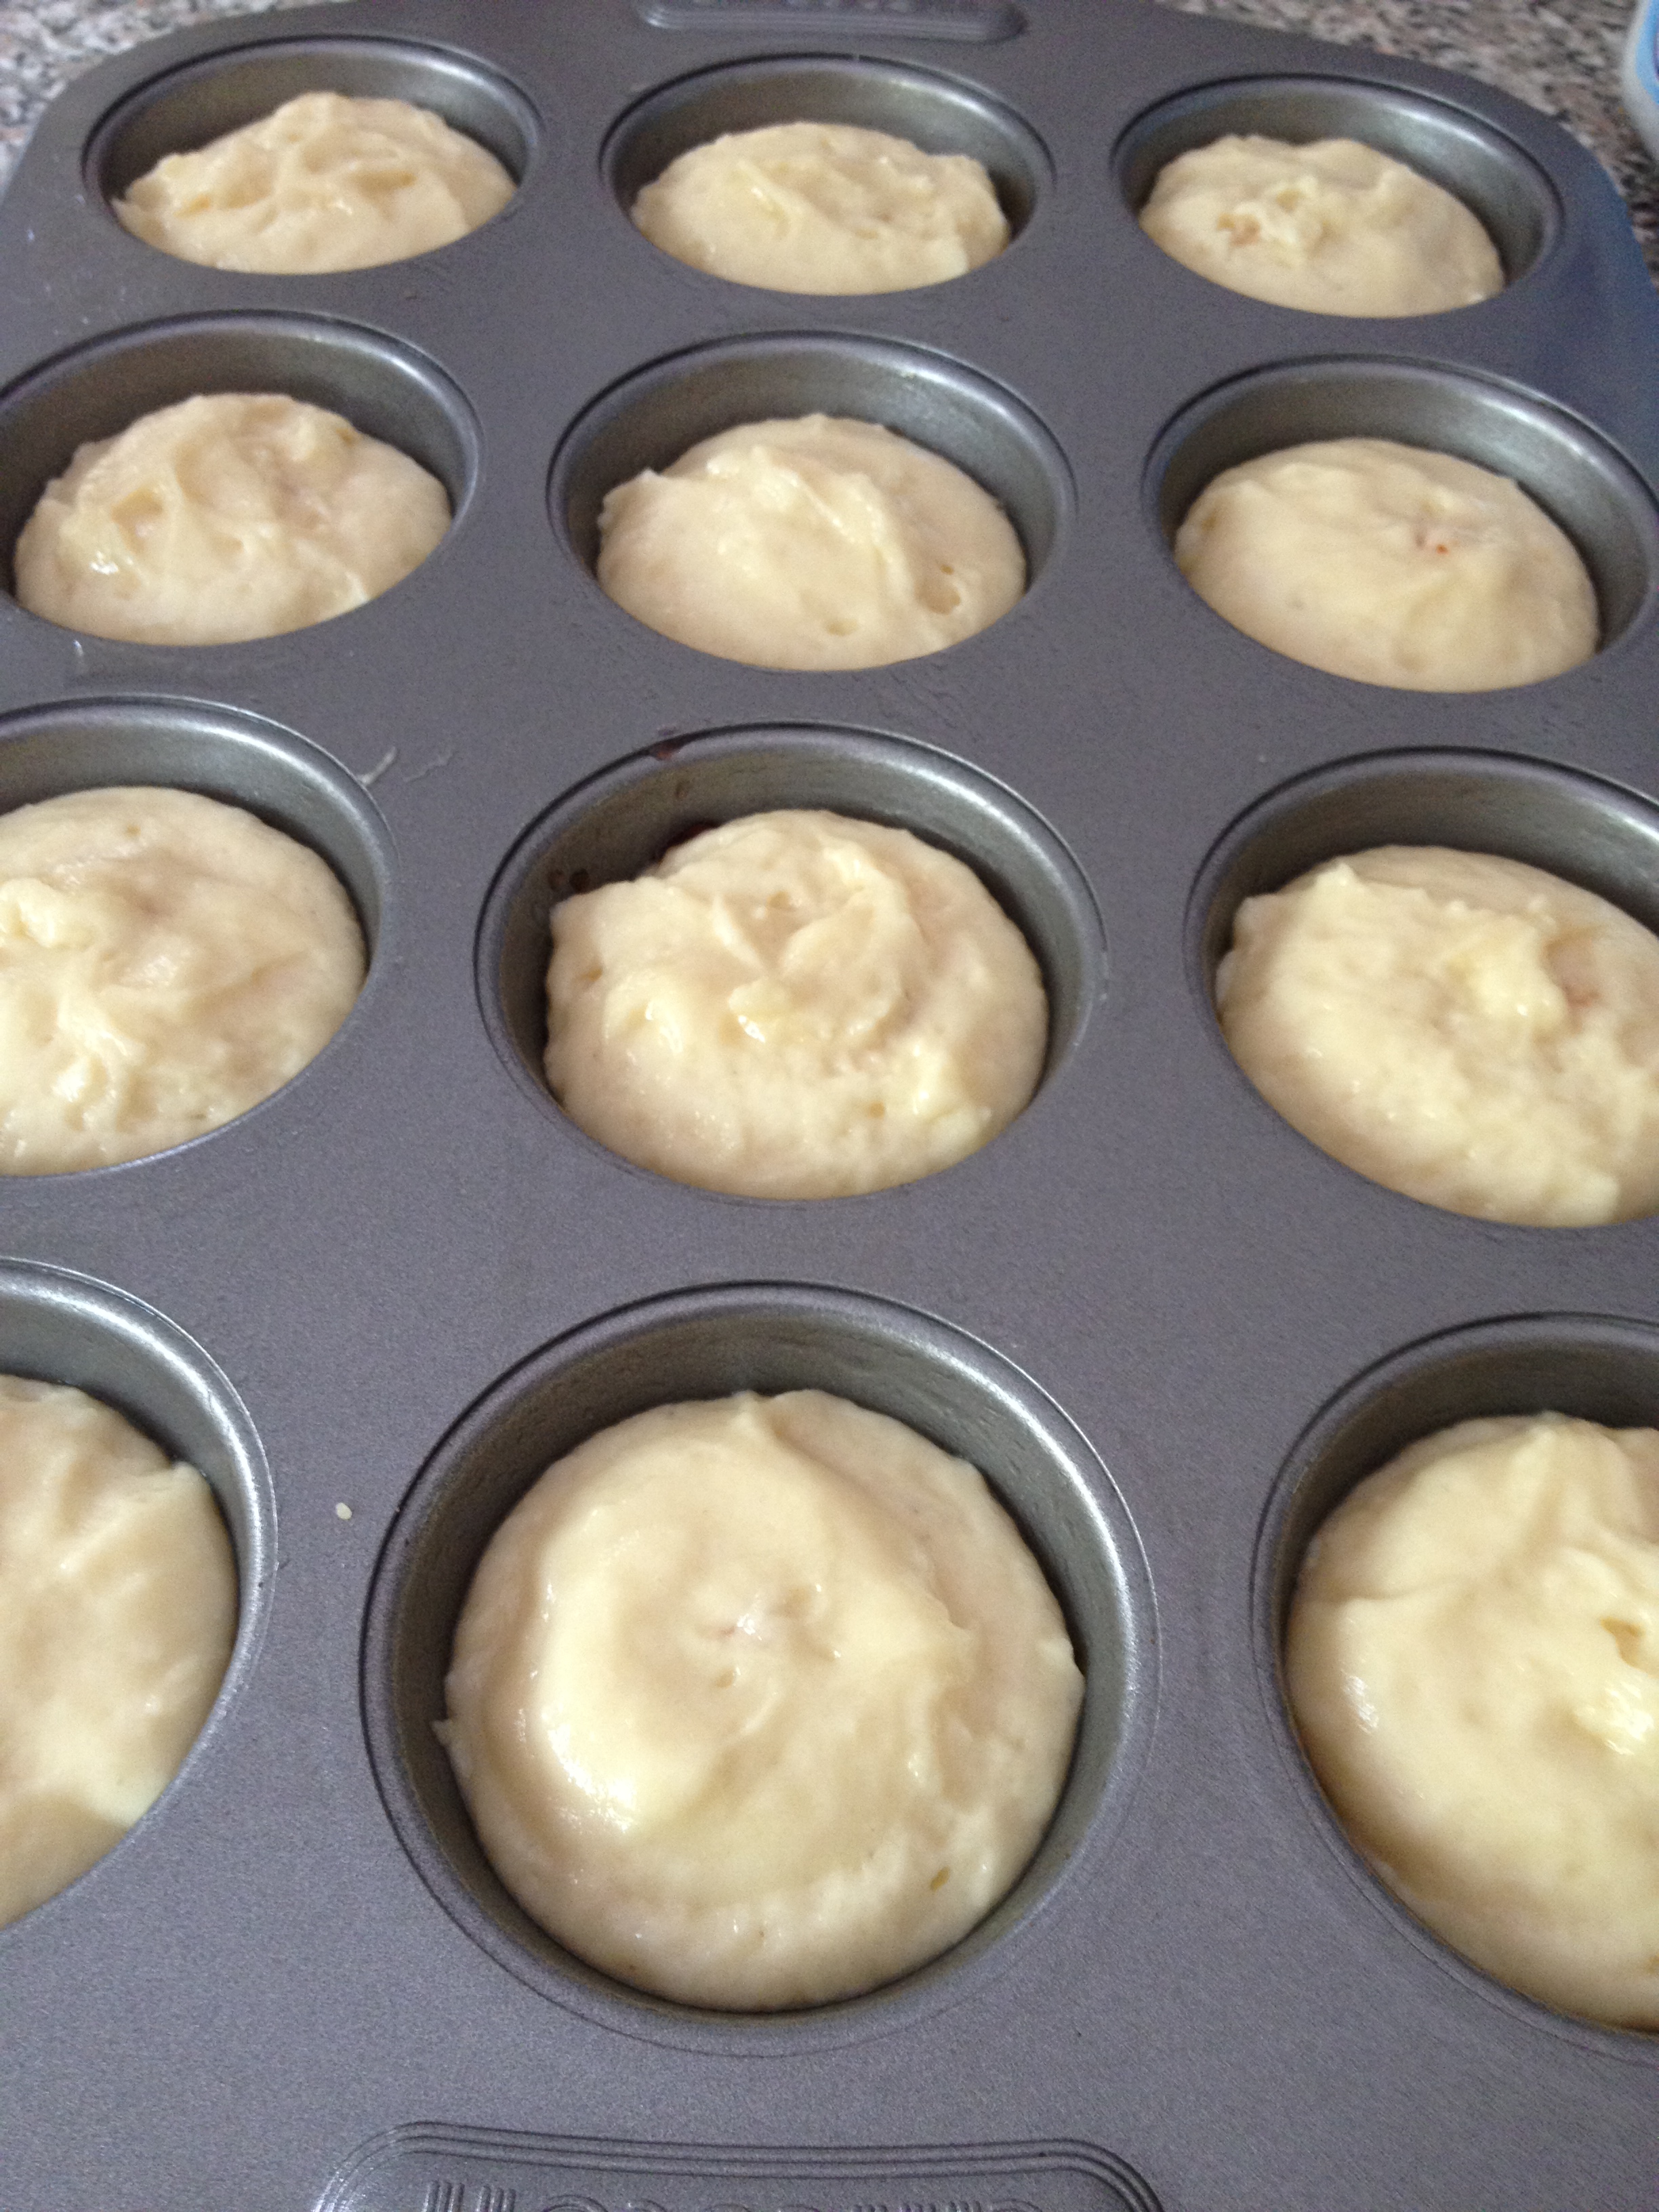
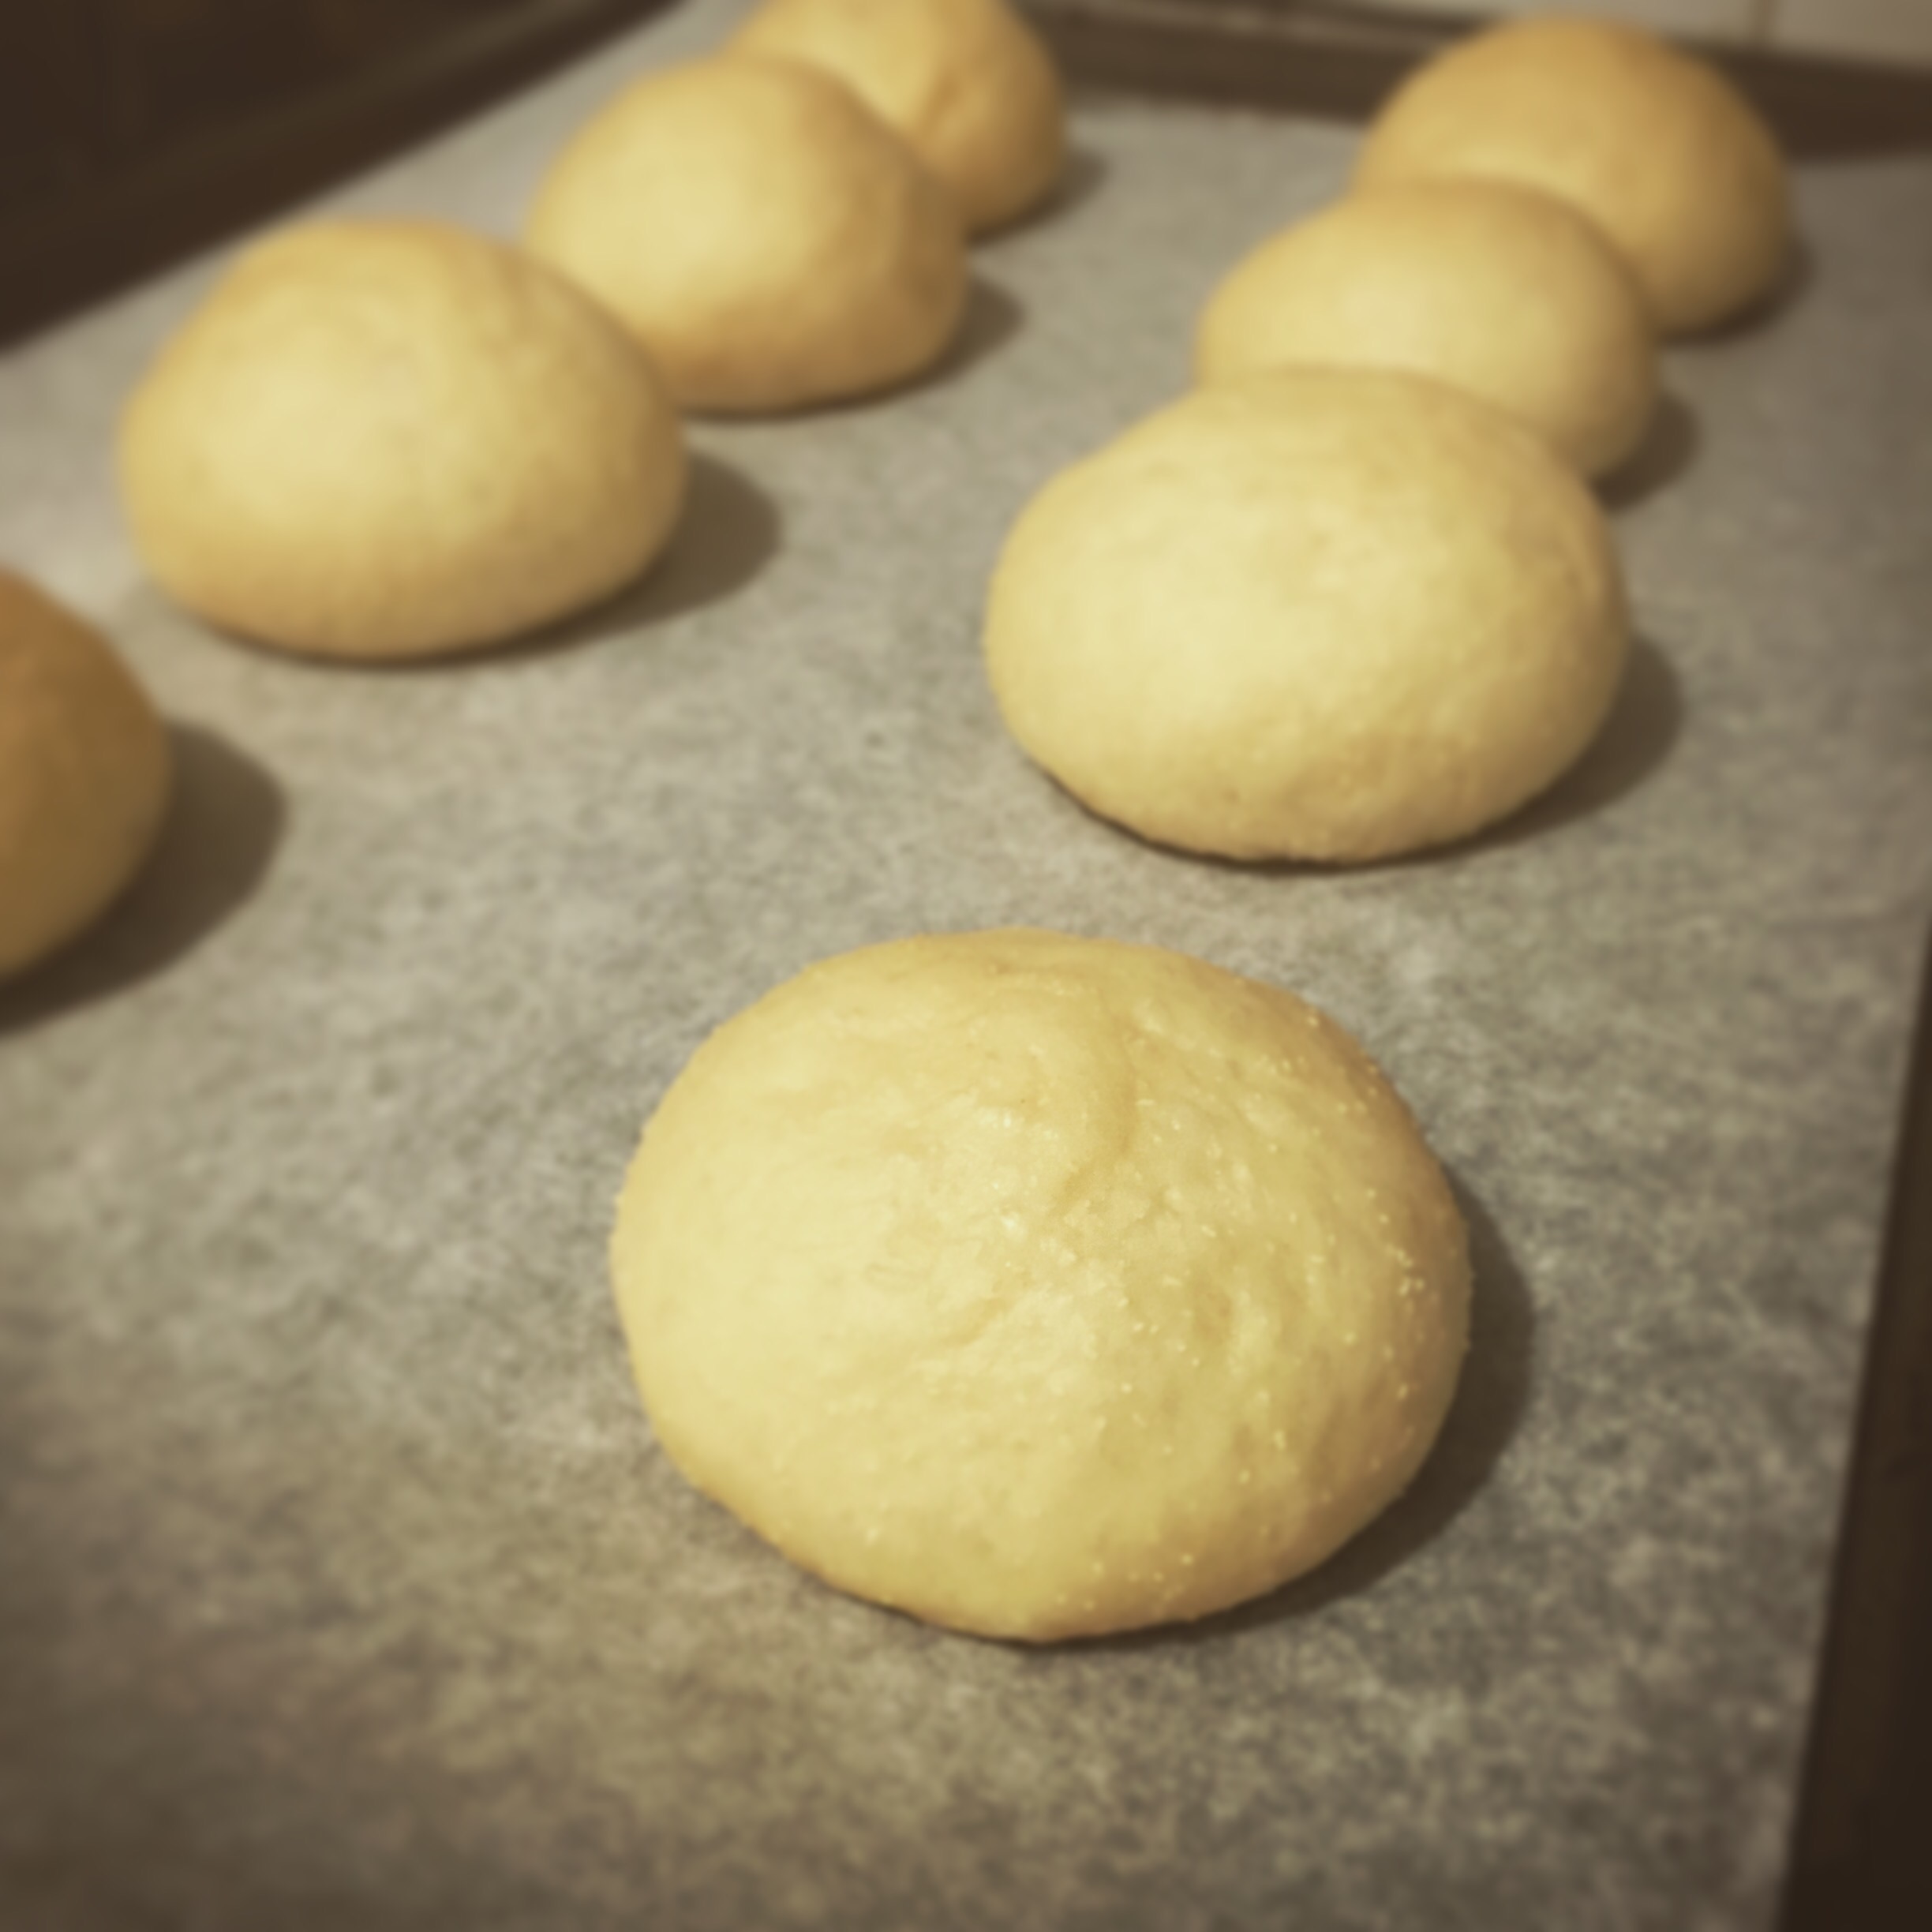
Punch the dough down and knead again to make smooth. Cut in half and roll into two 25cm logs. Cut each log into 12 pieces, roll each into a rough ball and place on a baking paper-lined tray. Cover loosely and allow to rise for a further 15 minutes.

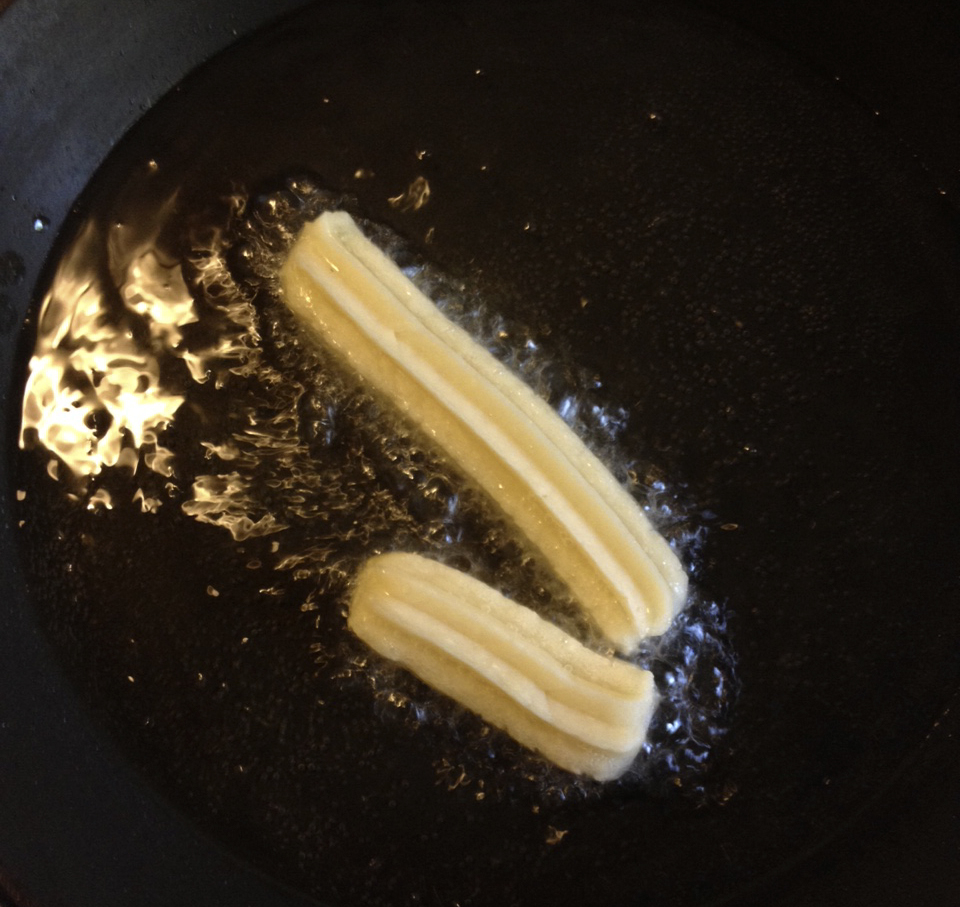
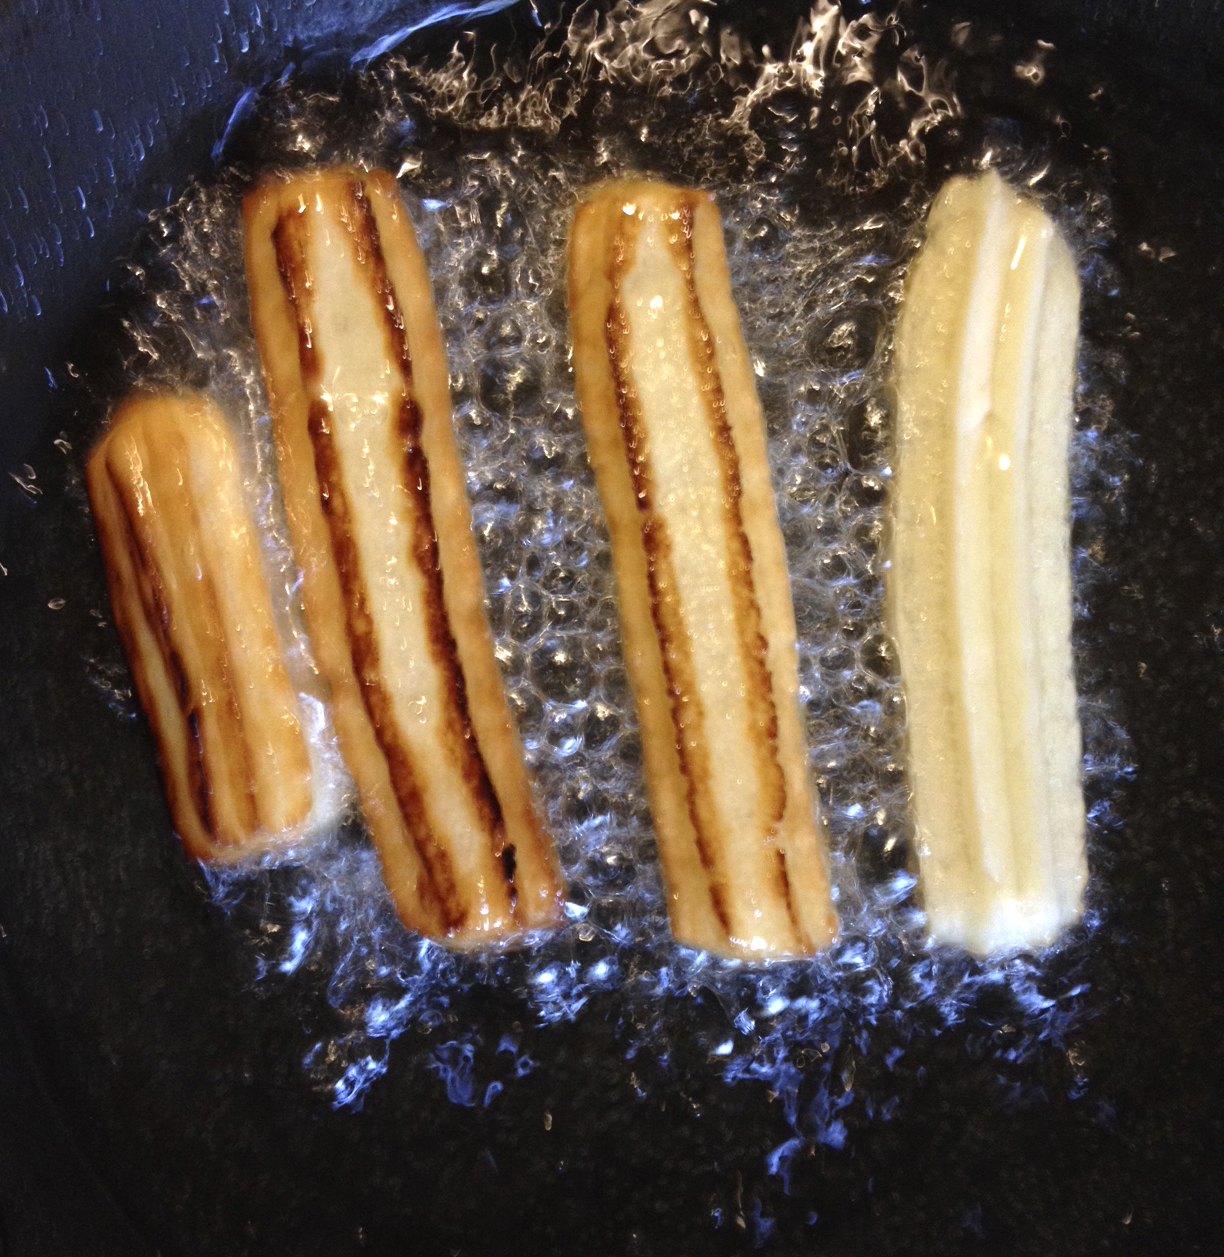
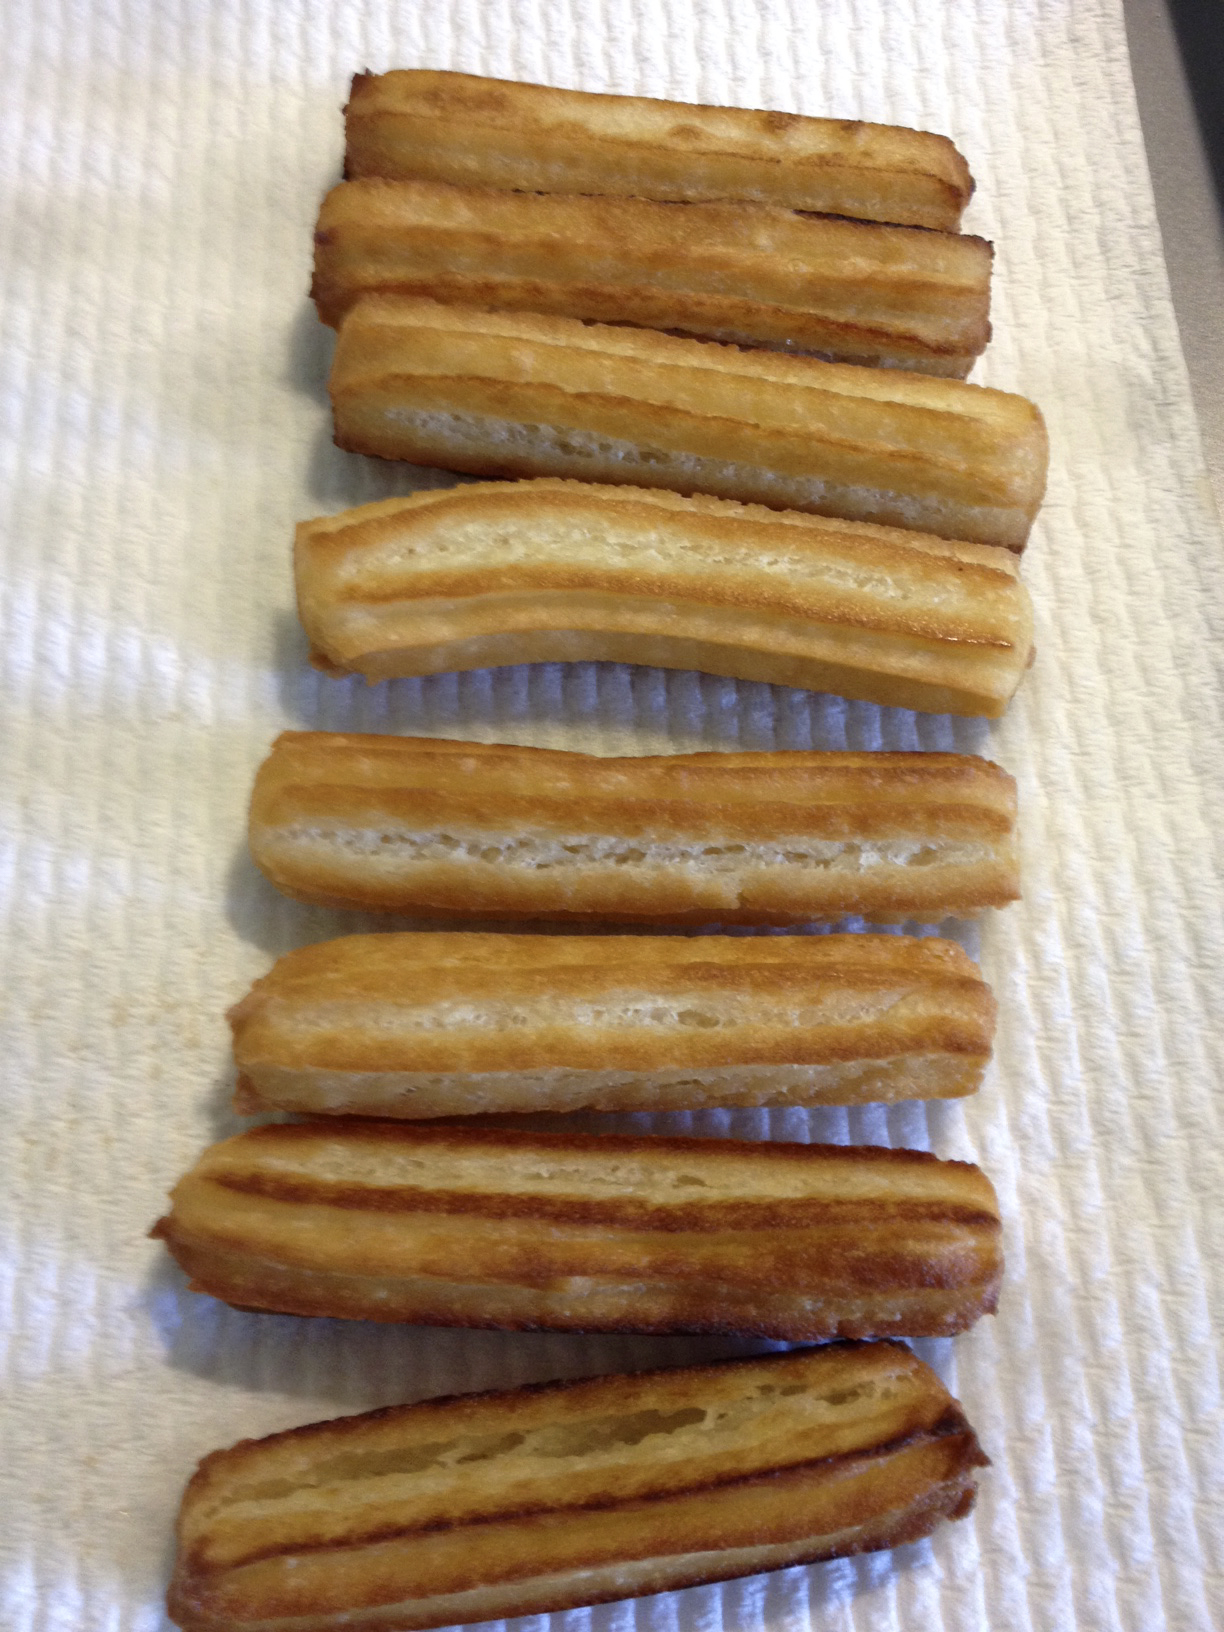
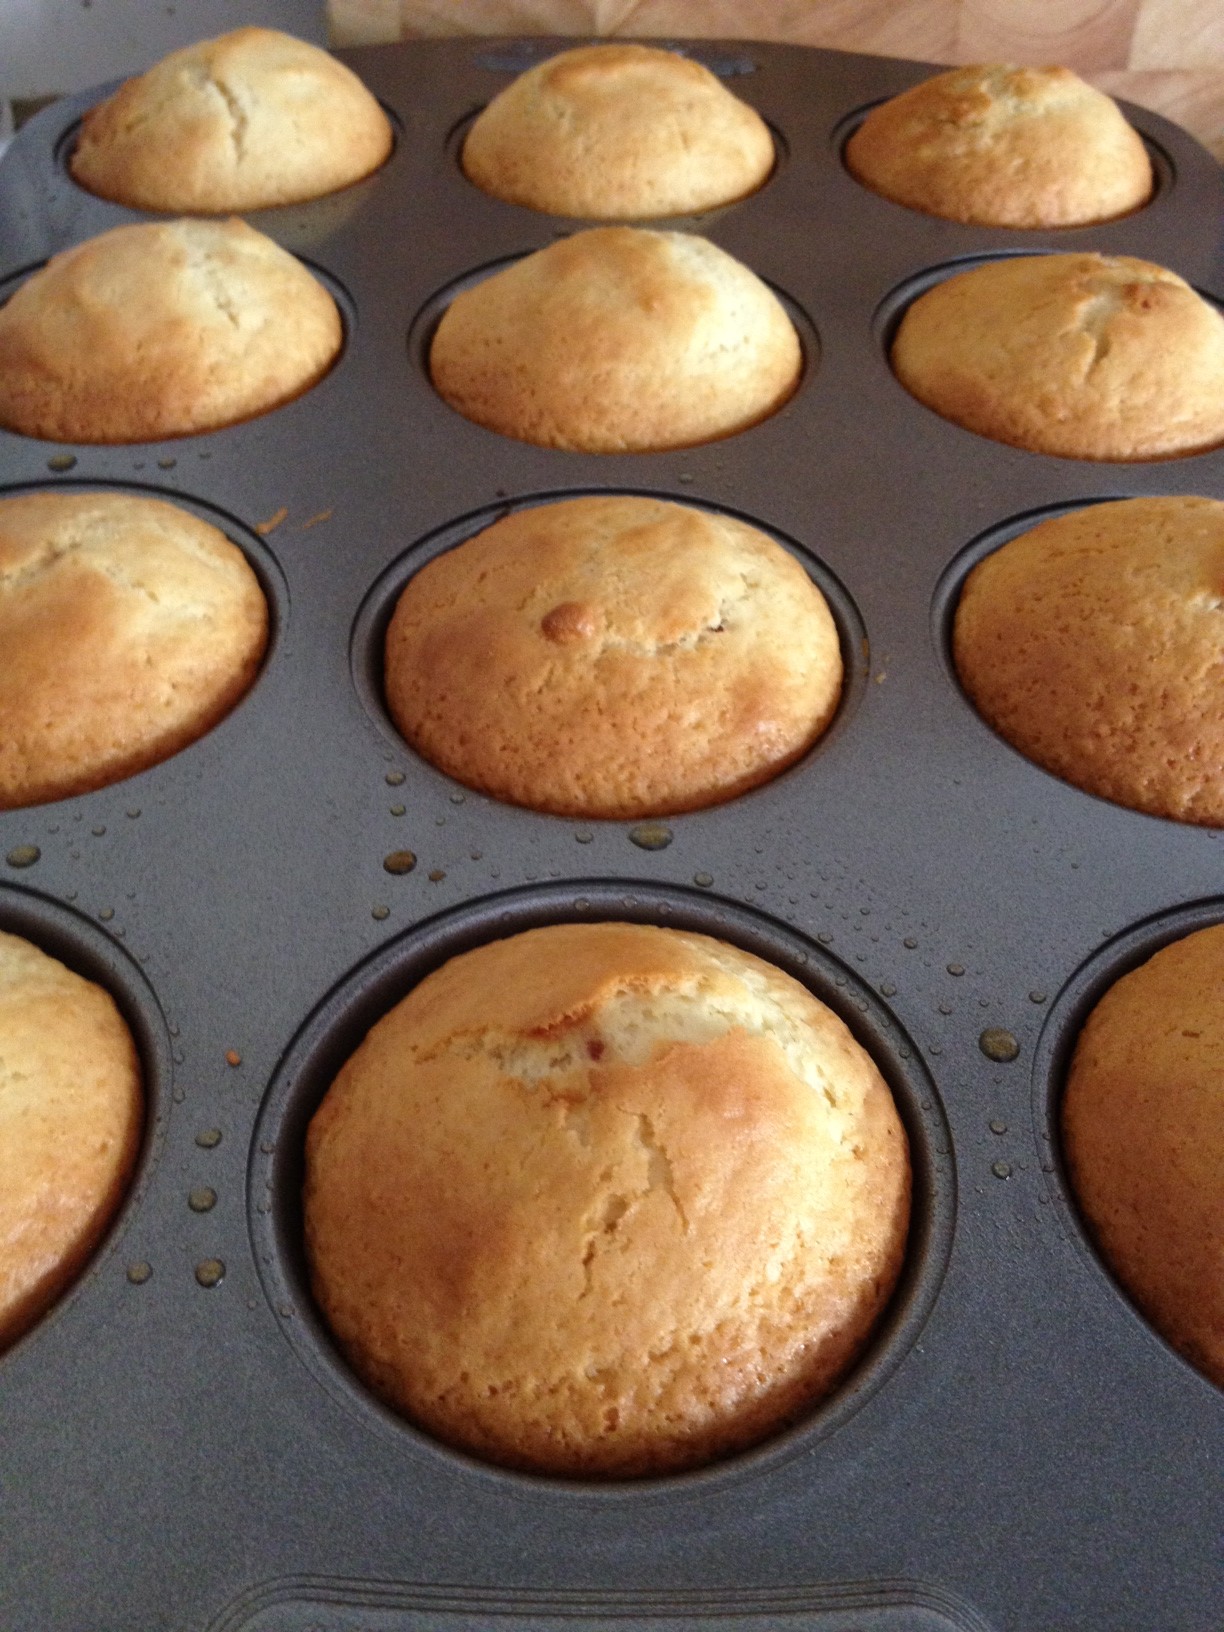
Heat oil in the deep-fryer to 190C. Cook the doughnuts, a few at a time, for five minutes, flipping over halfway so they brown evenly. Remove and drain on a paper towel, then roll in sugar to coat.

Easy Homemade Churros

9 Jan
Homemade churros with chocolate dipping sauce

Homemade churros with chocolate dipping sauce

Who can resist one of these hot and crispy delights coated in cinnamon sugar? Or even better, dipped in a warm chocolate sauce?

No one, that’s who!

These churros are so easy to make and in no time at all! So if you are after a quick, no fuss crowd pleaser for entertaining, or simply for some self indulgence, then these are for you!!

You’ll need a good quality cloth piping bag or heavy duty plastic piping bag and a star piping nozzle for this. If you don’t use a good quality piping bag, you’ll find it difficult to pipe the churros dough as it’s quite thick! Kitchen scissors also came in handy!

The first step is to prepare your cinnamon sugar by combining your 1/2 cup of sugar with your cinnamon in a shallow dish and set aside for coating your churros.

In a medium saucepan/pot, combine all of your wet ingredients (water and 2 tblsp of oil) with your salt and remaining sugar and whisk together over medium heat until boiling. Remove from the heat and add your flour and mix with a wooden spoon until it forms a ball and all the flour comes away clean from the side of the saucepan as shown below:

Add your flour to the saucepan and begin mixing

Add your flour to the saucepan and begin mixing

As you combine, the flour will come away cleanly from the saucepan

As you combine, the flour will come away cleanly from the saucepan

Your dough is ready once everything has combined and comes away from the saucepan cleanly

Your dough is ready once everything has combined and comes away from the saucepan cleanly

Transfer the dough to your piping bag with nozzle.

TIP: To get the dough to the bottom of the bag, I ended up twirling the piping bag in a circle.

Heat your oil for frying in a deep pan (for shallow frying as I did) or in a medium saucepan for deep frying.

Here comes the tricky part, but not to fear, I came up with an easy solution!

Because the dough is quite thick, I needed two hands to pipe it out, but the dough would not ‘drop off’ the nozzle once my pressure on the bag was released. So here I grabbed my kitchen scissors.

TIP: Put the tail end of the piped churros dough in the oil and move your piping bag to allow most of the dough to be in the frying oil, grab the scissors and snip the dough away from the nozzle. Lowering the tail end of the dough into the oil first will avoid oil splashing on yourself when you snip the dough away.

If shallow frying, simply fry until golden on one side and turn.

Fry 01

Fry 02

Allow your churros to drain on paper towel before coating in cinnamon sugar

Allow your churros to drain on paper towel before coating in cinnamon sugar

Coat your churros in the cinnamon sugar and voila!!

For the chocolate dipping sauce, see the full recipe below:

Easy Homemade Churros Recipe: (recipe via justataste.com)

You’ll need:

  • Cloth piping bag or heavy duty plastic piping bag
  • Star tip/nozzle
  • Kitchen scissors

Ingredients:

Cinnamon Sugar:

  • 1/2 cup sugar
  • 1 1/2 teaspoons cinnamon

Churros:

  • 1 cup water
  • 1 1/2 tablespoons sugar
  • 1/2 teaspoon salt
  • 1 cup plain all purpose flour
  • 2 tablespoons vegetable oil
  • Extra vegetable for deep or shallow frying

Chocolate Dipping Sauce:

  • 300ml thickened cream
  • 200g chopped dark cooking chocolate

Method:

  1. For cinnamon sugar, combine your cinnamon sugar ingredients in a shallow dish and set aside
  2. For the Churros: In a small/medium saucepan over medium heat, whisk together water, sugar, salt and vegetable oil until boiling. Remove from heat and add the flour to the wet mixture, using a wooden spoon to combine. Once all ingredients have combined and the mixture has turned into a ball of dough, it should come away cleanly from the saucepan.
  3. Transfer to your piping bag (see tip in blog post on how to get your dough to the bottom of the bag)
  4. Heat your oil for frying
  5. Pipe your churros dough out of the pastry bag and use a pair of scissors to snip it off the nozzle (see tip in blog post to avoid oil splashes!)
  6. If shallow frying, turn once to ensure both sides are golden brown.
  7. Remove from oil once golden brown and allow to drain on paper towel.
  8. Coat in cinnamon sugar and serve.

Chocolate Dipping Sauce:

Method:

On low heat, heat the cream in a pot until the rim of the pot begins to bubble with cream, stirring continuously. Remove from heat and stir through the chopped chocolate until dissolved. This ganache will set at room temperature if not used immediately and can be refridgerated and re-heated when needed.

Chocolate

Jam Doughnut Muffins!

17 Feb

Thought I would share with you one of the easiest but delicious recipes I have come accross – Jam Doughnut Muffins. What’s not to like? Jam, Doughnut, Muffin. Win-win-win.

This is a simple recipe that I found a few years back on http://www.taste.com.au – a great recipe source!

No more nonsense… let’s get straight to the ‘How To’ pictures and recipe!!

When making the batter, your batter consistency should be thicker than a normal muffin batter, slightly doughy and very sticky:

Batter should be thick, slightly doughy and very sticky. Whatever you do, don't scrape down the bowl cleanly - you'll use this later!

Batter should be thick, slightly doughy and very sticky. Whatever you do, don’t scrape down the bowl cleanly – you’ll use this later!

One of the greatest tips that I can give you is to get yourself an old school ice-cream scoop with a spring action swiper!! This simple device has saved me so much time and ensures that each muffin or cupcake I make will be consistent and equally measured!

Use an ice-cream scoop to keep each muffin even

Use an ice-cream scoop to keep each muffin even

The recipe states to create a little hole/indent in the batter and then scoop a your chosen jam into the batter and then cover it – which I have done in the past. But instead, I chose to get out my piping bag and a very fine tip and used the piping bag to pipe the jam into the muffin. WARNING: don’t push your piping tip too far into the muffin as the jam will sink to the bottom of the tin and you’ll end up with holes at the bottom of your muffin and a tin full of jam!! Just push the tip just below the surface of the batter and pipe a small amount. If you do this, your jam will end up in the centre of the muffin.

Don't push the piping bag too far in or your jam will sink to the bottom creating a hole at the bottom. Stay very close to the top.

Don’t push the piping bag too far in or your jam will sink to the bottom creating a hole at the bottom. Stay very close to the top.

You may end up with little jam holes in the top of your muffins, not to worry – remember when I said to keep some batter in the bowl and not scrape it clean? This is why, just scoop a teaspon of batter on top of the jam holes to seal your jam in. It’s very important to do this. If you don’t, you’ll end up with jam volanoes!

Don't worry about the jam holes from the piping - use the batter still in the bowl to top up the muffins and cover the holes.

Don’t worry about the jam holes from the piping – use the batter still in the bowl to top up the muffins and cover the holes.

Your sealed muffins should not have any jam exposed - otherwise you'll end up with jam volcanoes

Your sealed muffins should not have any jam exposed – otherwise you’ll end up with jam volcanoes

Golden brown - fresh out of the oven

Golden brown – fresh out of the oven

The last step is to melt your butter and coat your muffins before dipping them into a sugar bowl!! I used a pastry brush to spread a very thin layer of melted butter on the muffins.

And the final product……

The final result!

The final result!

Sugar coated and ready to eat!

Sugar coated and ready to eat!

Here’s the recipe for you below – I hope you enjoy it! It’s so simple!!

Jam Doughnut Muffins – source: http://www.taste.com.au

Ingredients:

  • 300g (2 cups) self raising flour
  • pinch of salt
  • 2/3 cups caster sugar, extra 1/2 cup extra to coat
  • 80ml (1/3 cup) vegetable oil
  • 1 large egg
  • 175ml
  • 1tsp vanilla extract
  • Good quality jam
  • 100g unsalted butter
  • 1tsp ground cinnamon

Method:

Preheat oven to 180 degrees celcius and grease a 6 hole muffin pan or a 12 hole cupcake pan (I used a 12 hole cupcake pan which yielded exactly 12)

Sift the flour into a medium bowl, add a pinch of salt and the caster sugar. In a jug, combine the vegetable oil, egg, buttermilk and vanilla extract. Add to the dry ingredients and stir to only just combine. Place an even amount of mixture into each muffin/cupcake hole and make an indent in the centre. Fill each indent with a generous 1/2 tsp of jam. Cover the jam with the surrounding mixture.

OR – as pictured above, you can use my piping method.

Bake for 20 minutes. remove from the oven and set aside to cool slightly.

Melt the butter. Combine the extra sugar and ground cinnamon in a large bowl. When the muffins are cool enough to handle, use a pastry brush to brush each muffin with melted butter and then roll in the cinnamon sugar. Serve while still warm.